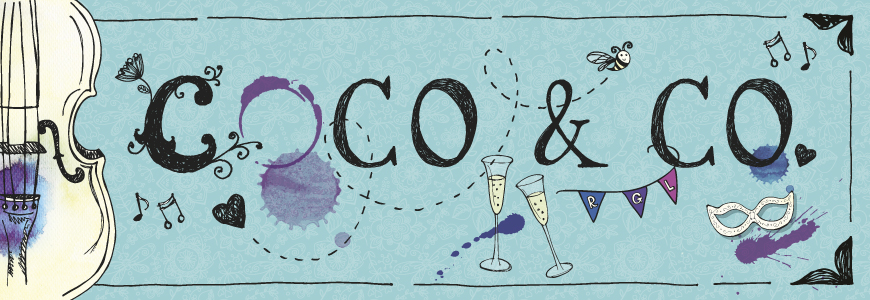
Yesterday, I woke up early in the morning, and straight away without having any time to eat my breakfast, I started making a bottle rocket. Materials: 1 empty – plastic Coca Cola bottle, 4 paper triangles, some pens, 1 coloured pencil (yellow), some paints, and, some tape.
First, I made a blueprint. On the blueprint, I drew, ‘the keys’. The Red line, is the key for, ‘cut’, and the Green – dotted line, is the key for, ‘fold’.
Then, I painted the windows blue, and I went out in the street with mummy to get a haircut, while the paint dried. When I got back, I painted the rest red. The next day, (obviously, the paint would have dried by then)…(again). Next, I painted a door onto the rocket. Can you guess what colour the door was? It was green!
So, then my rocket was finished, and ready to blast off! 10, 9, 8, 7, 6, 5, 4, 3, 2, 1, BLAST OFF!!!
I hope you enjoyed reading this blogpost.
Oh, and don’t forget to leave a like!
– Gabi xxx
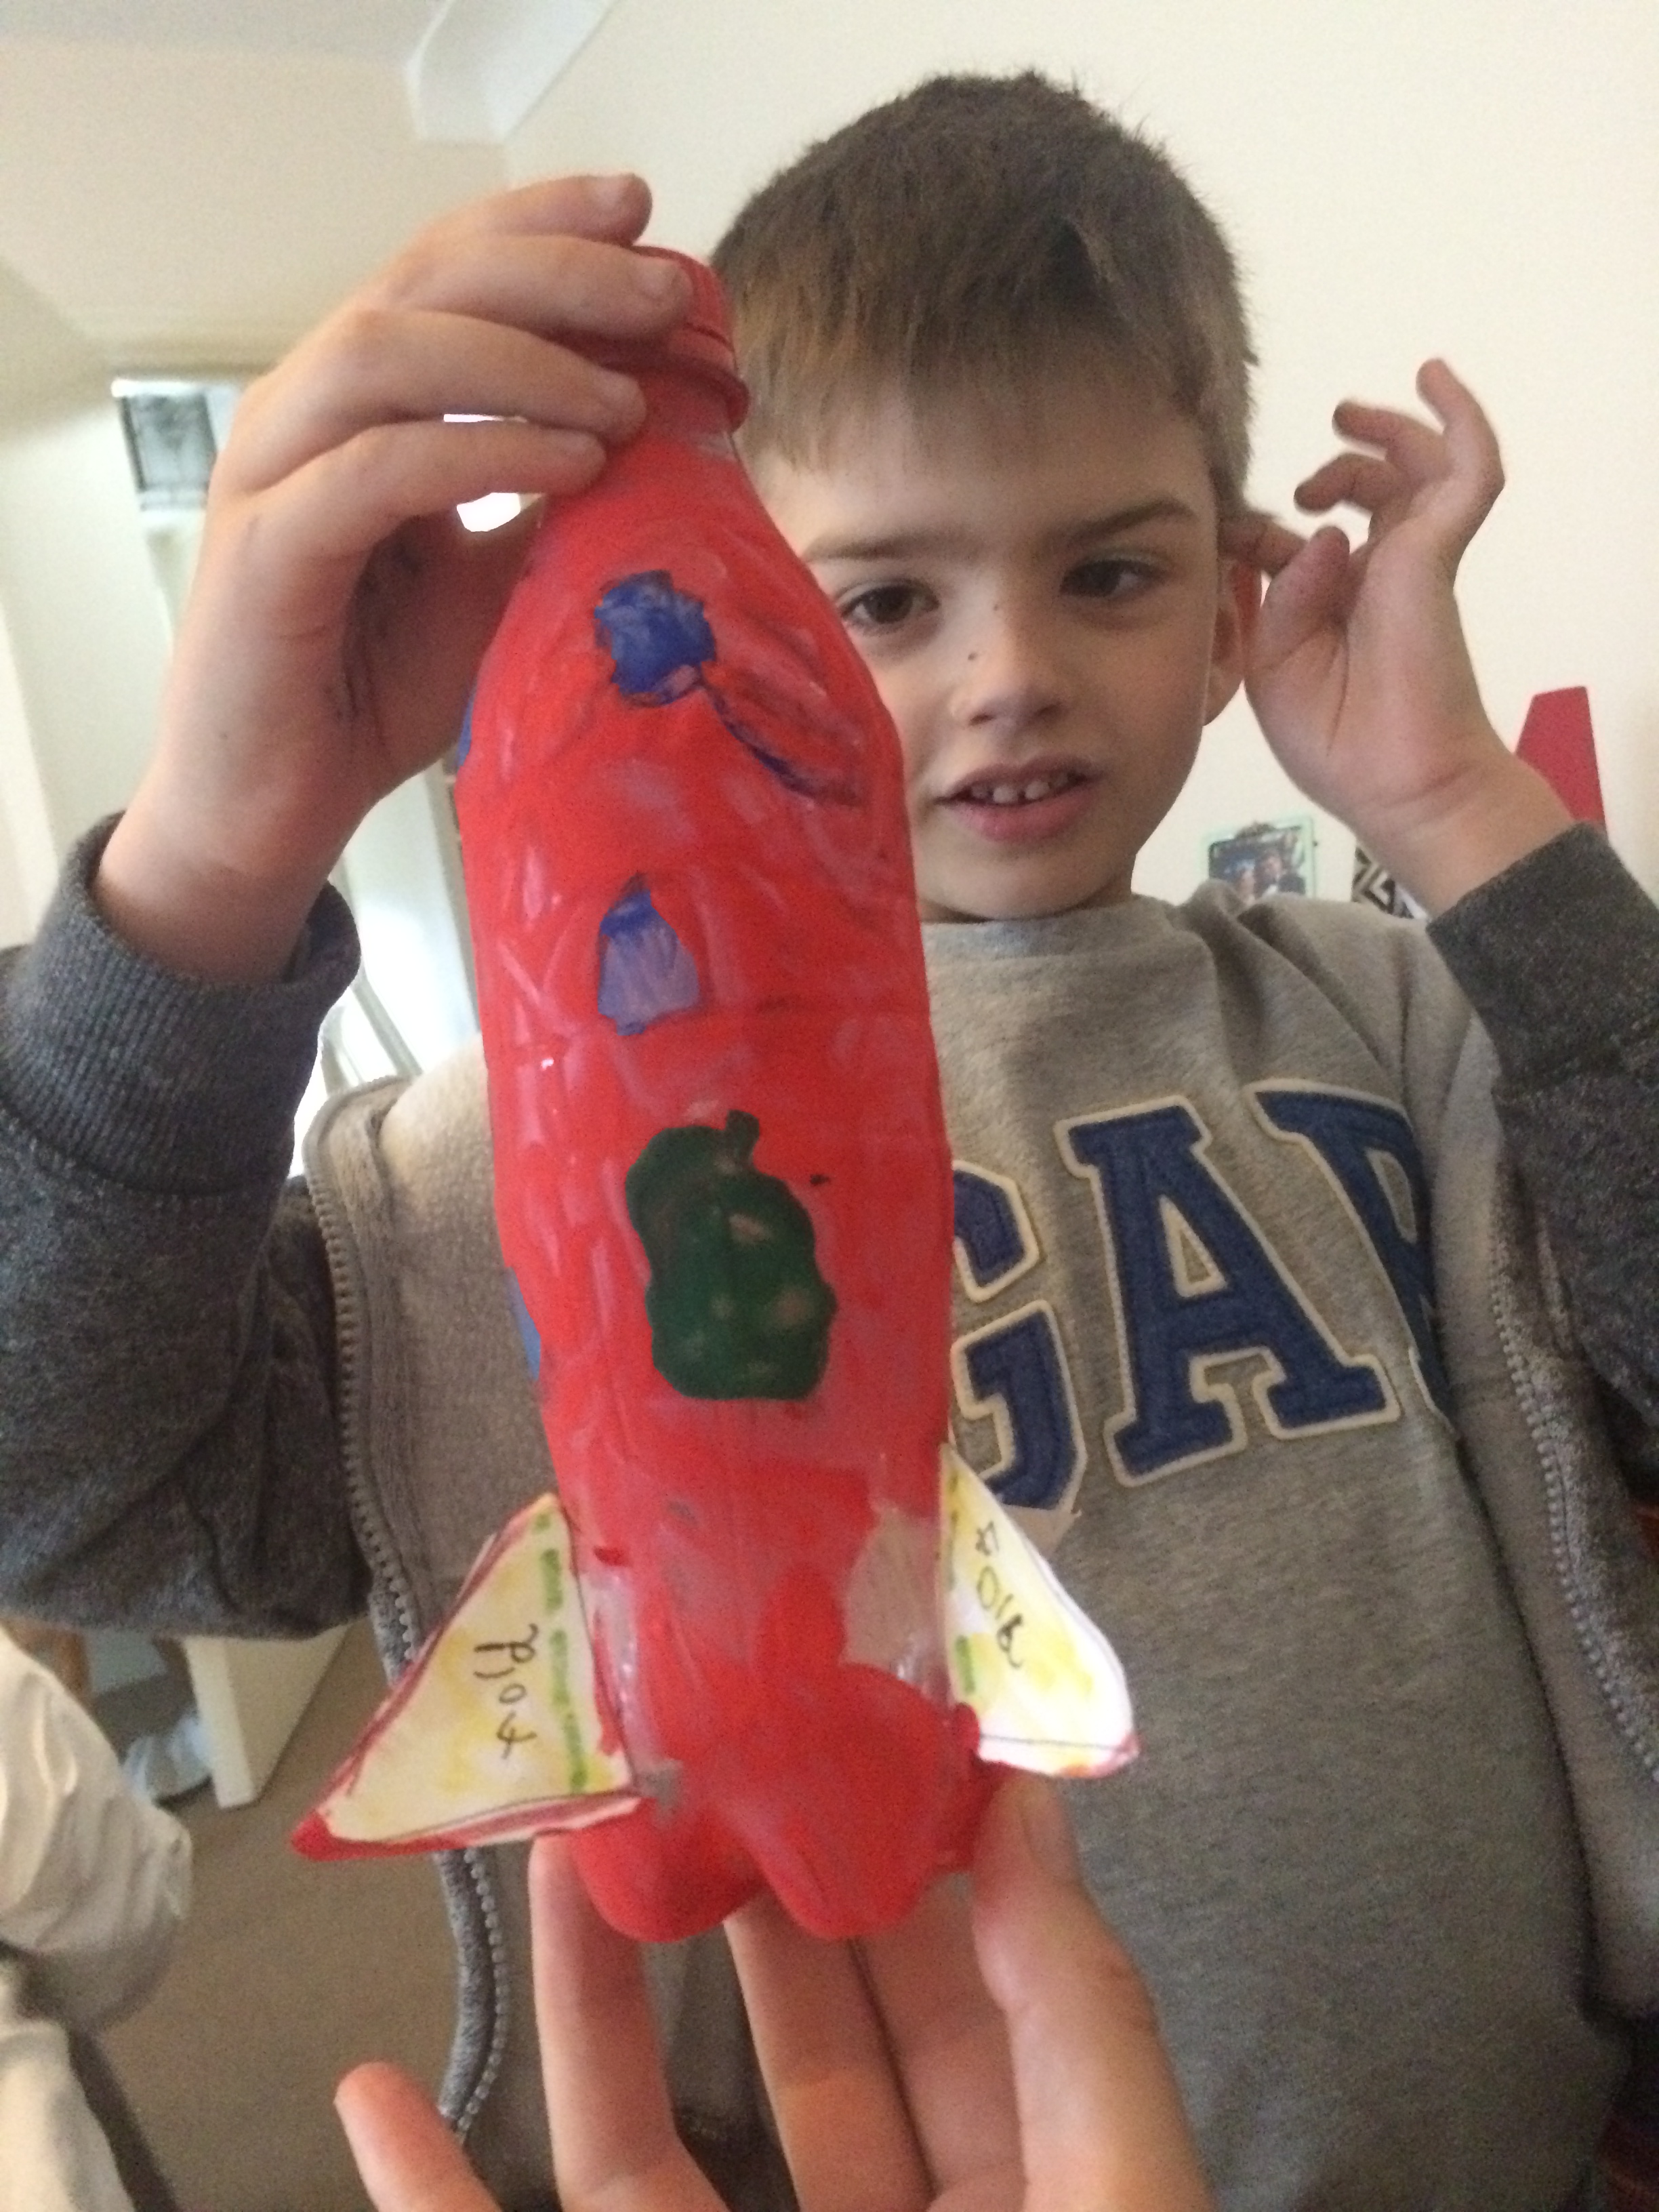
[This blog post is all Gabi’s own words and own typing, completely unaided… He had already made the rocket and painted the windows on by the time I got up in the morning! The only thing I did was to help him spell “obviously”… Think he’s a better and quicker blogger than me. He even knew to ask for likes, which I never thought of! LOL. -Ed. aka Mummy]
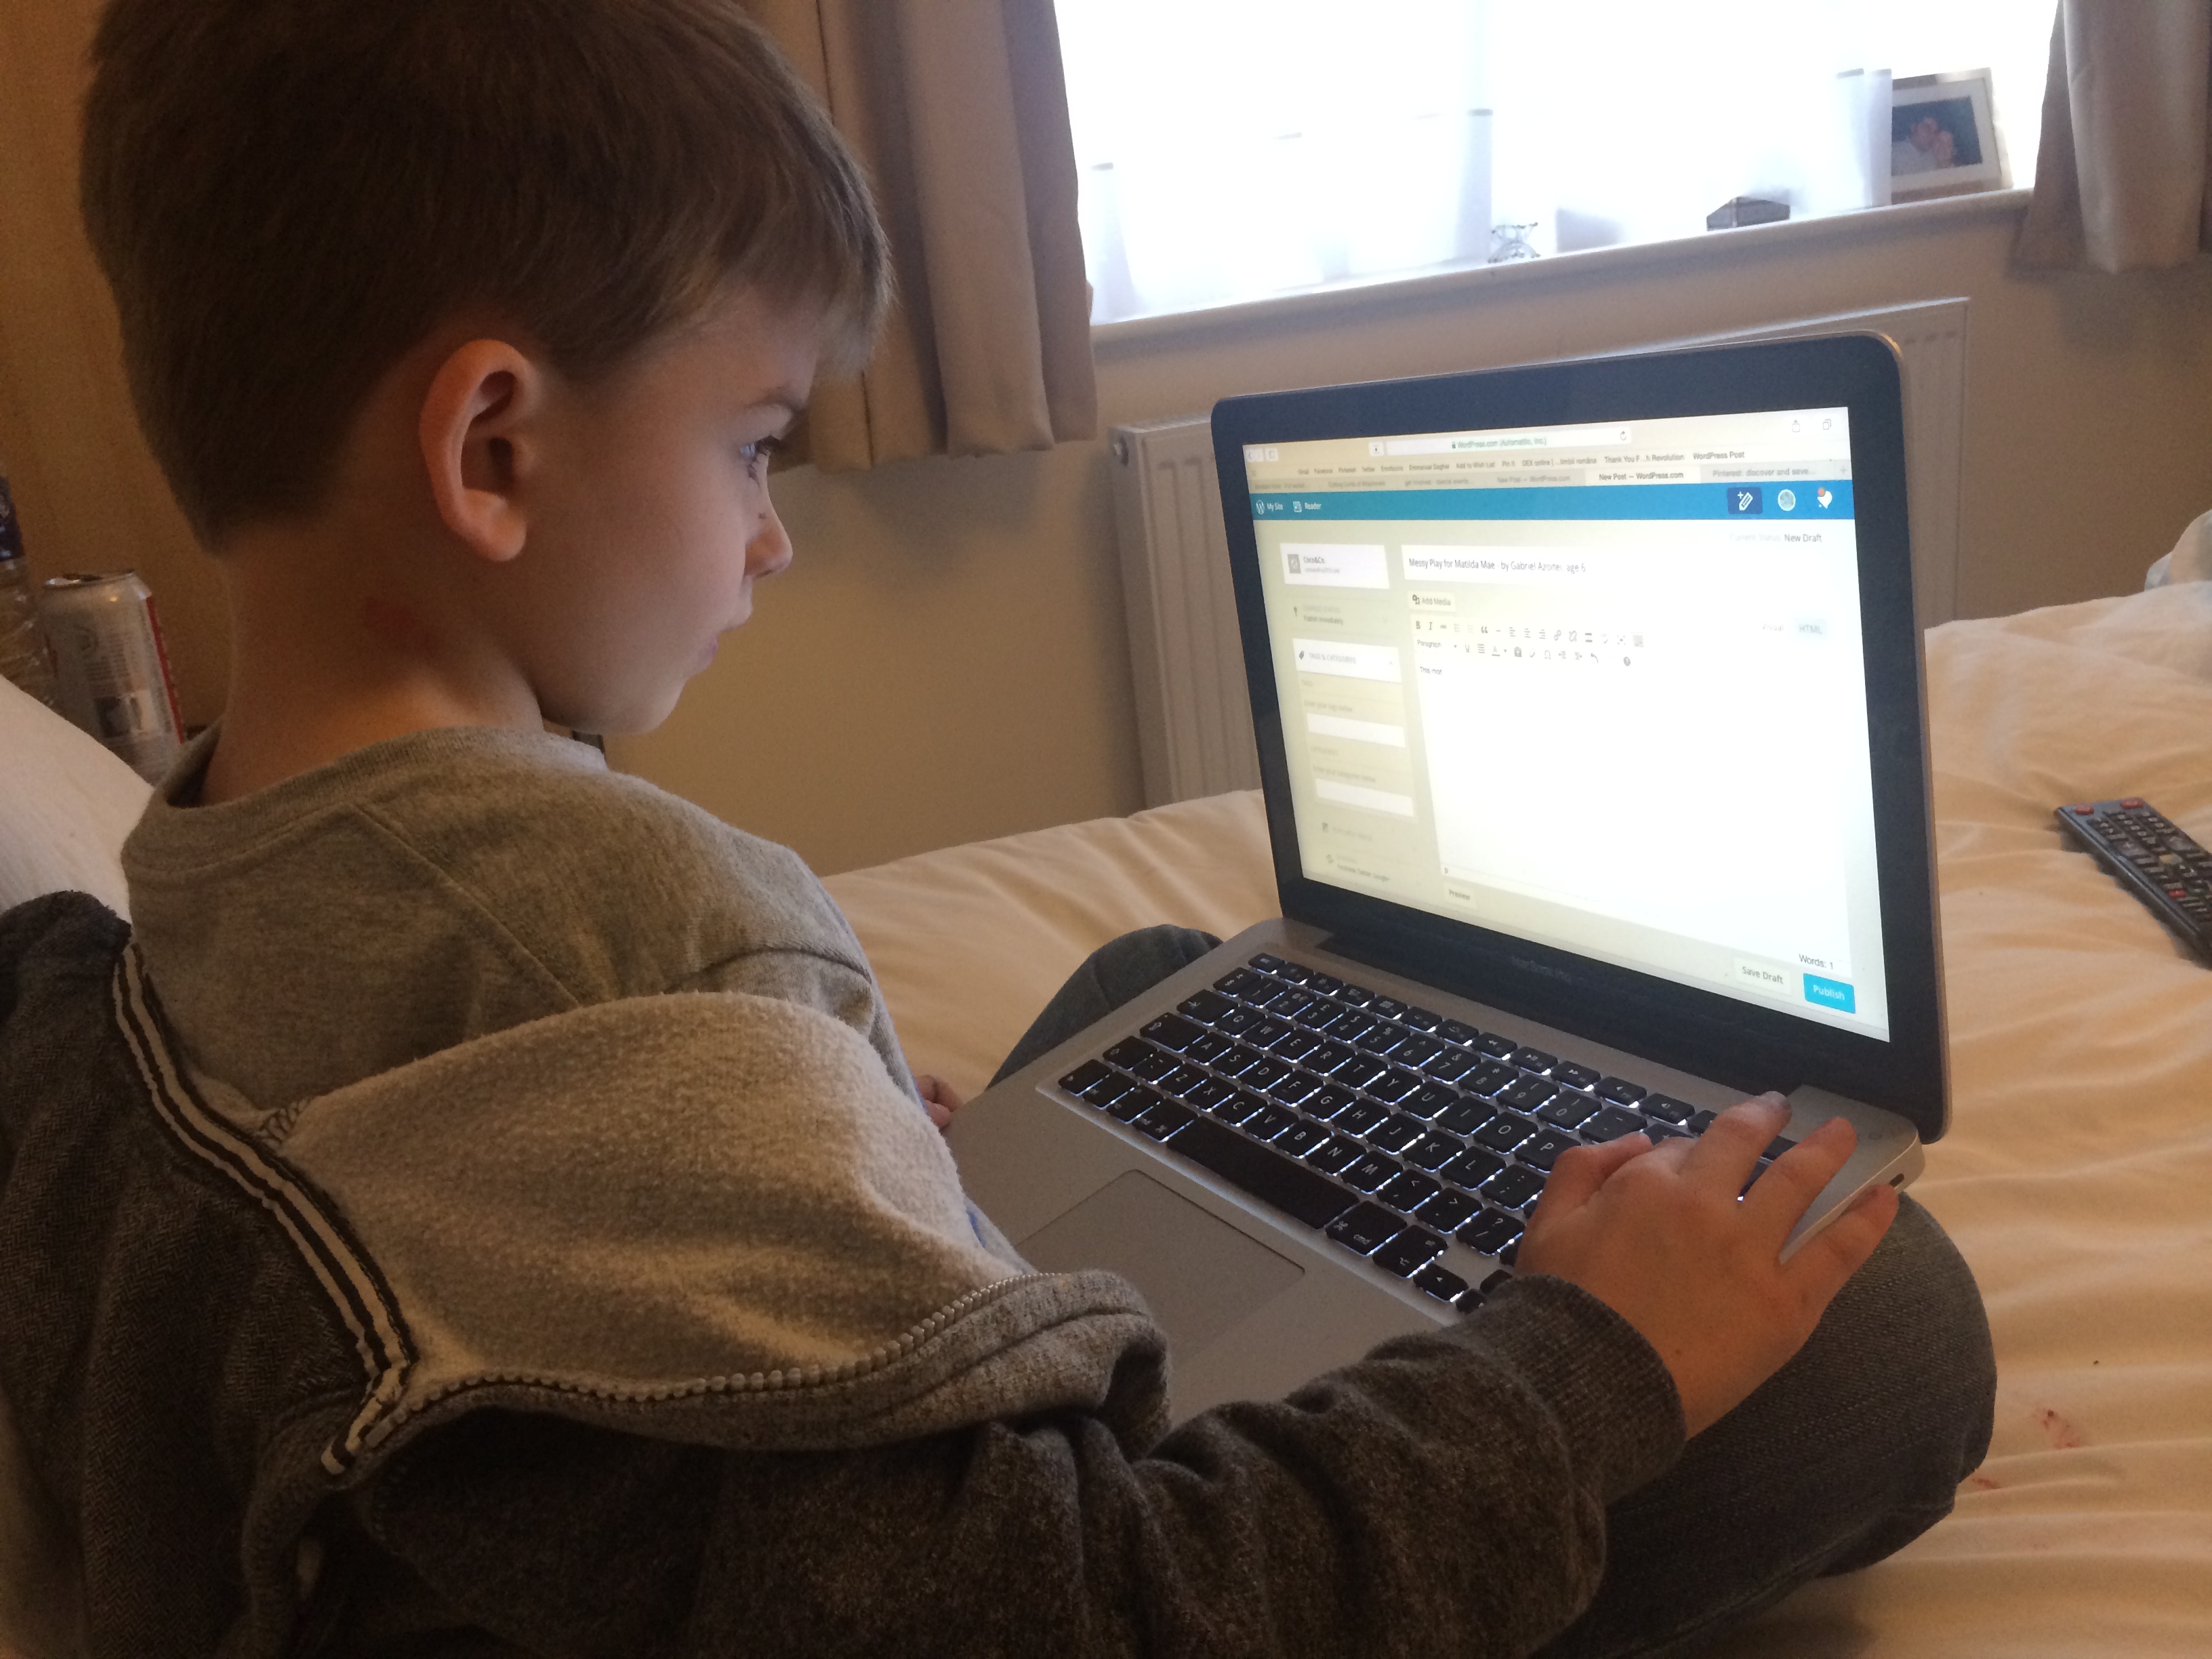
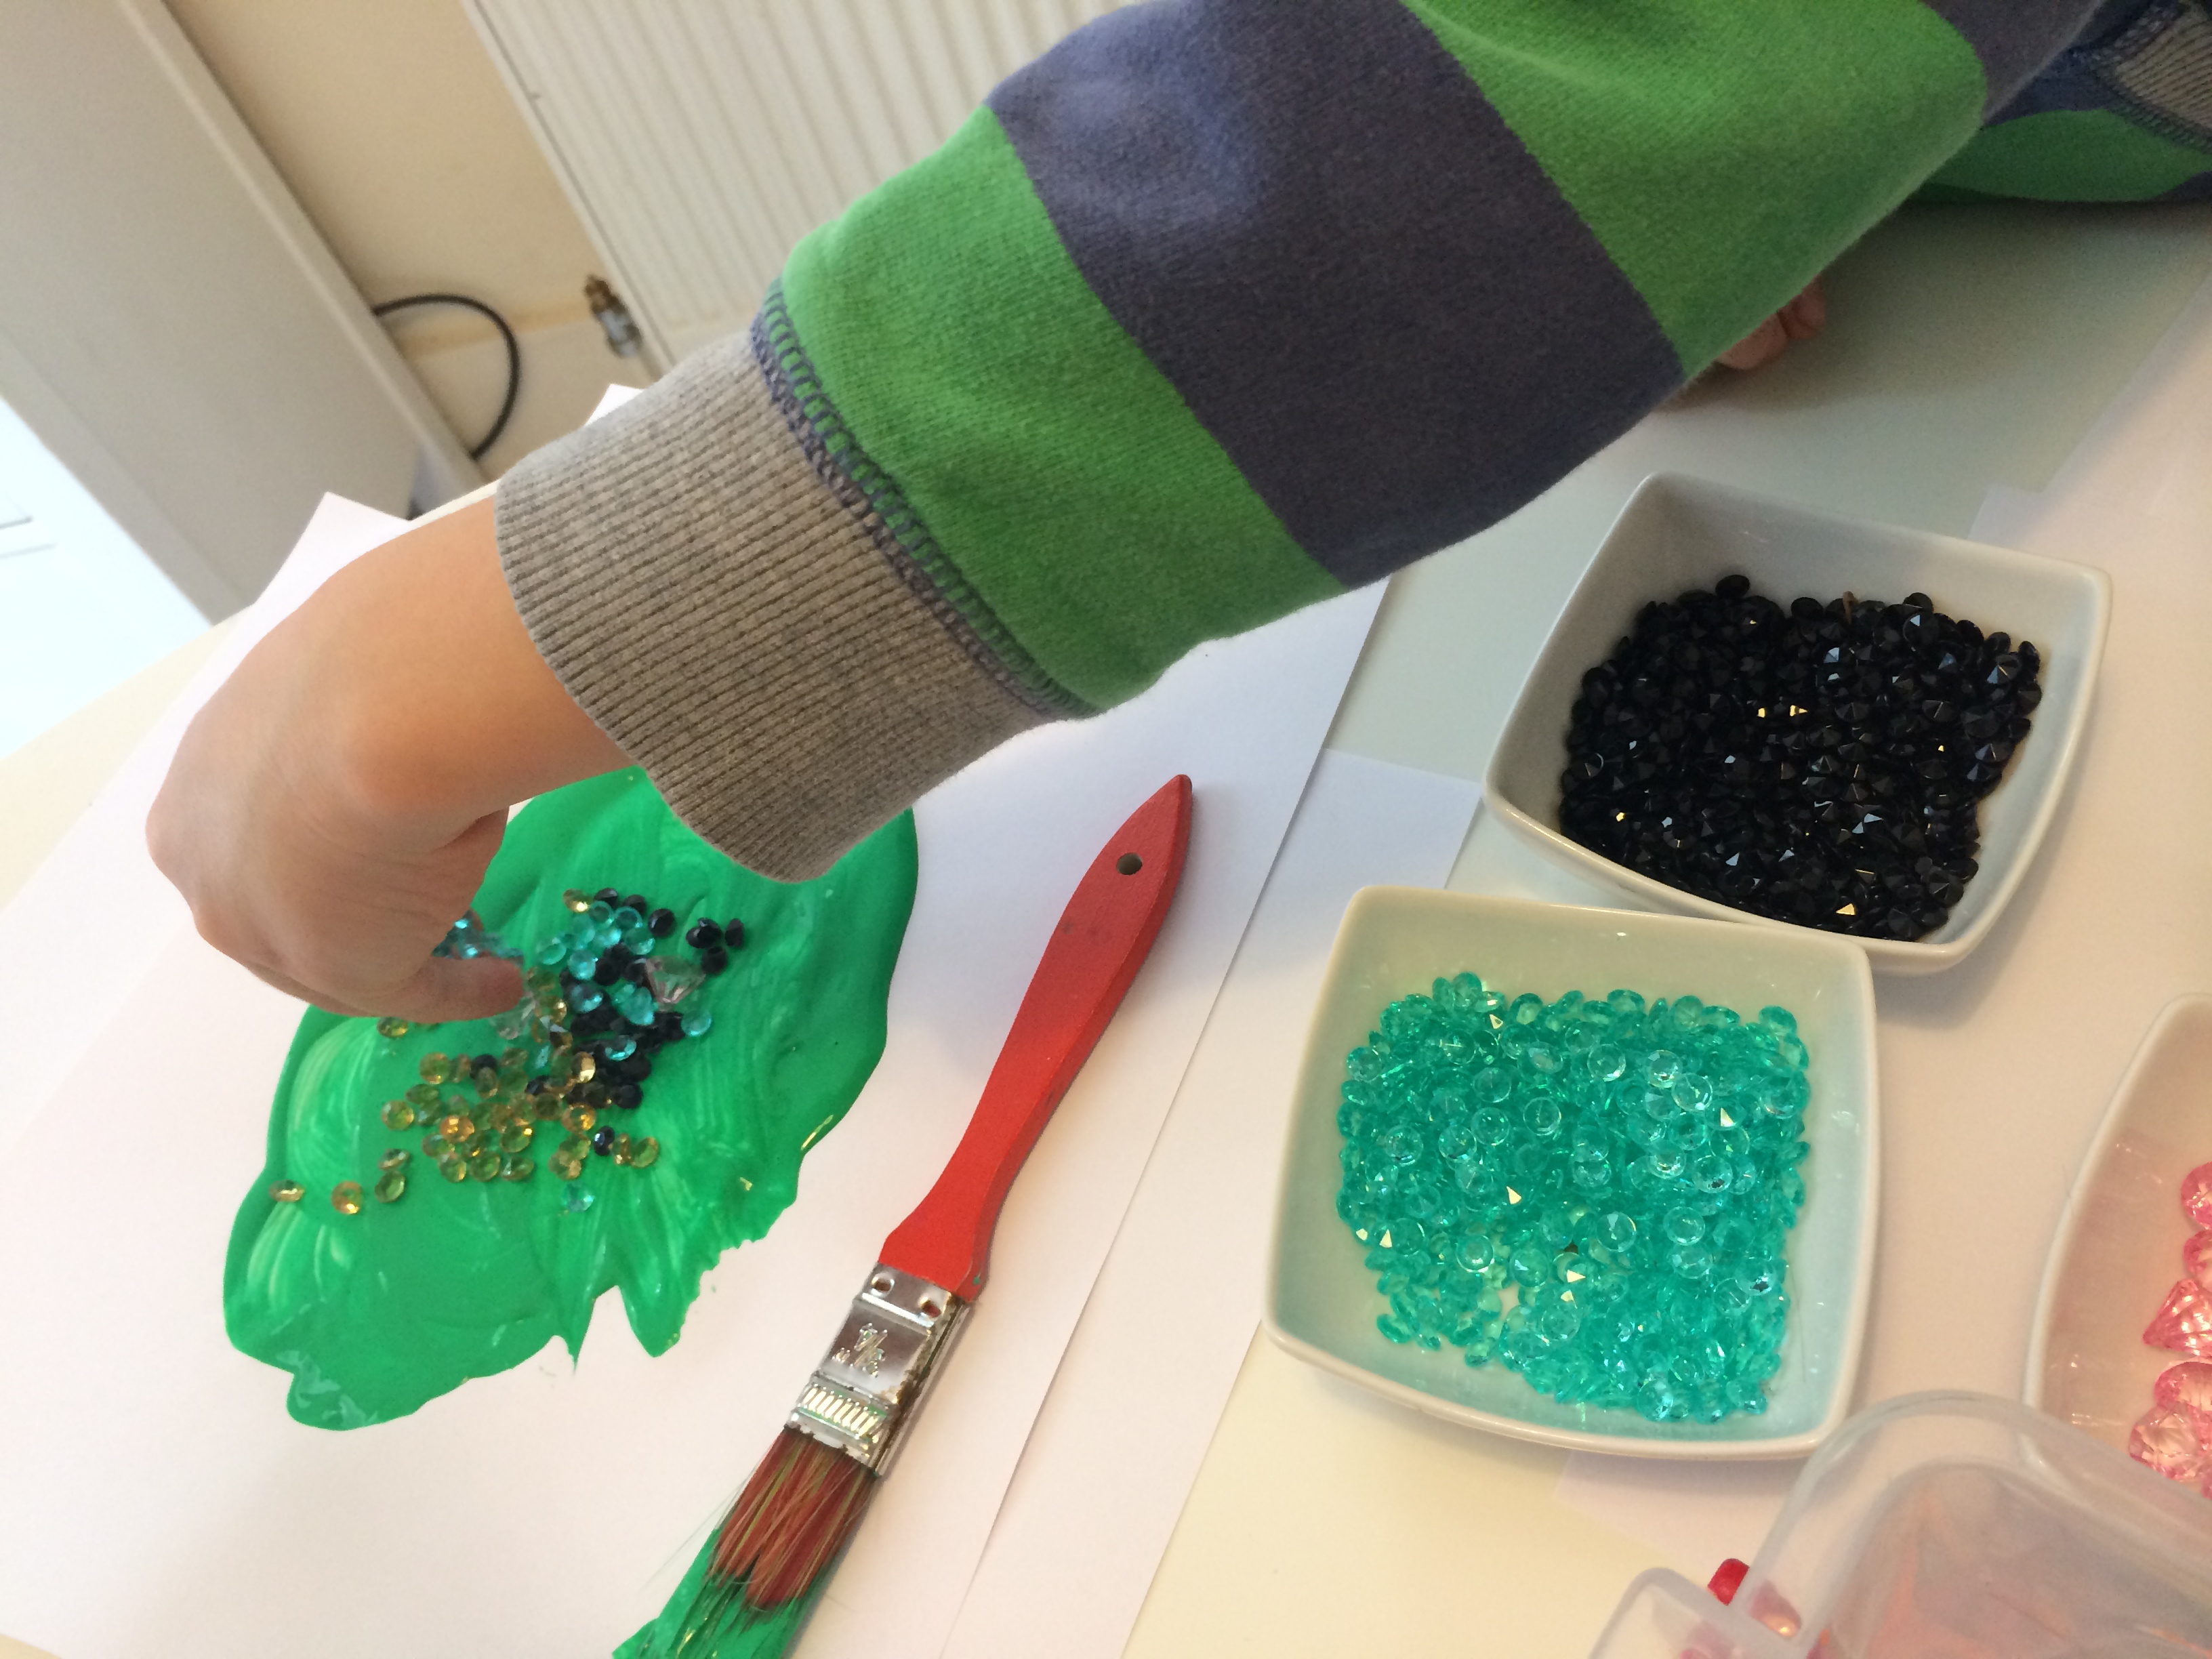
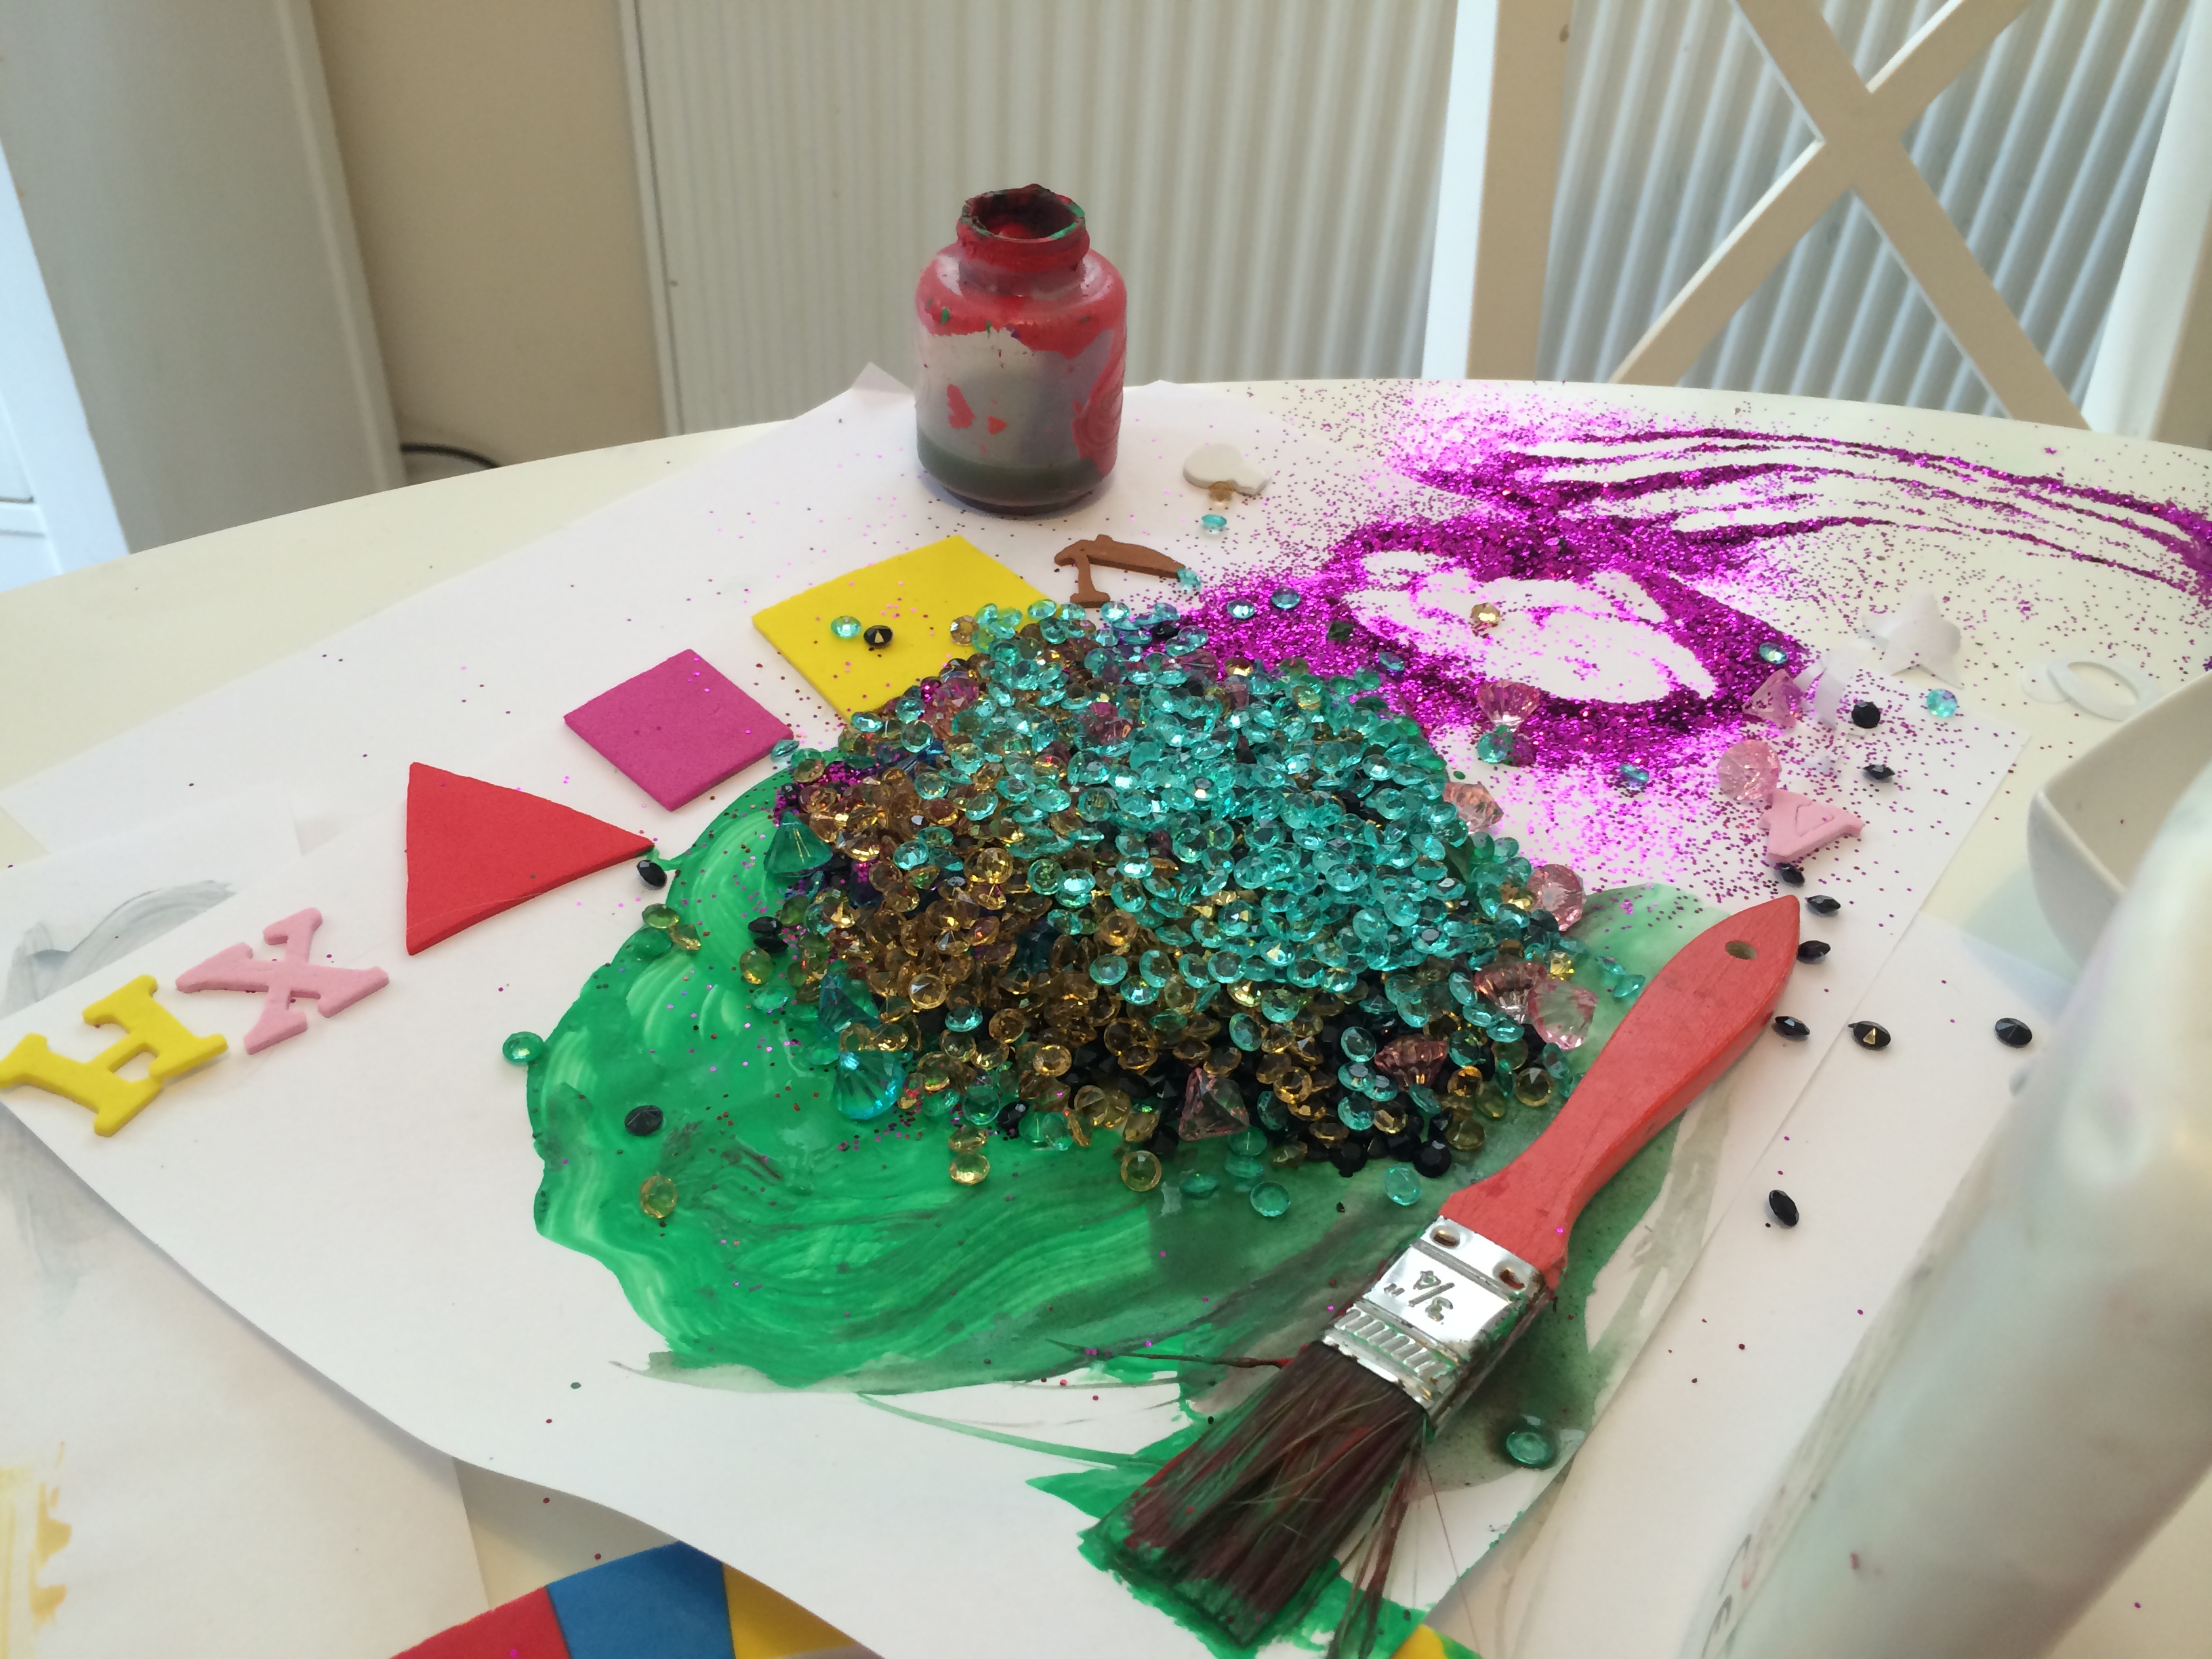
It’s been a long time since I’ve posted a Messy Play for Matilda Mae activity – and just as long since we’ve done one! Today, with two weeks left of the “Summer” holidays and flagging slightly on this grey day, we’re indoors painting and gluing, using up the left over gems from the crafting table at Gabi’s Minecraft Birthday Party.
We don’t have a lot of paints left, mostly just green, so the minecraft theme comes in handy.
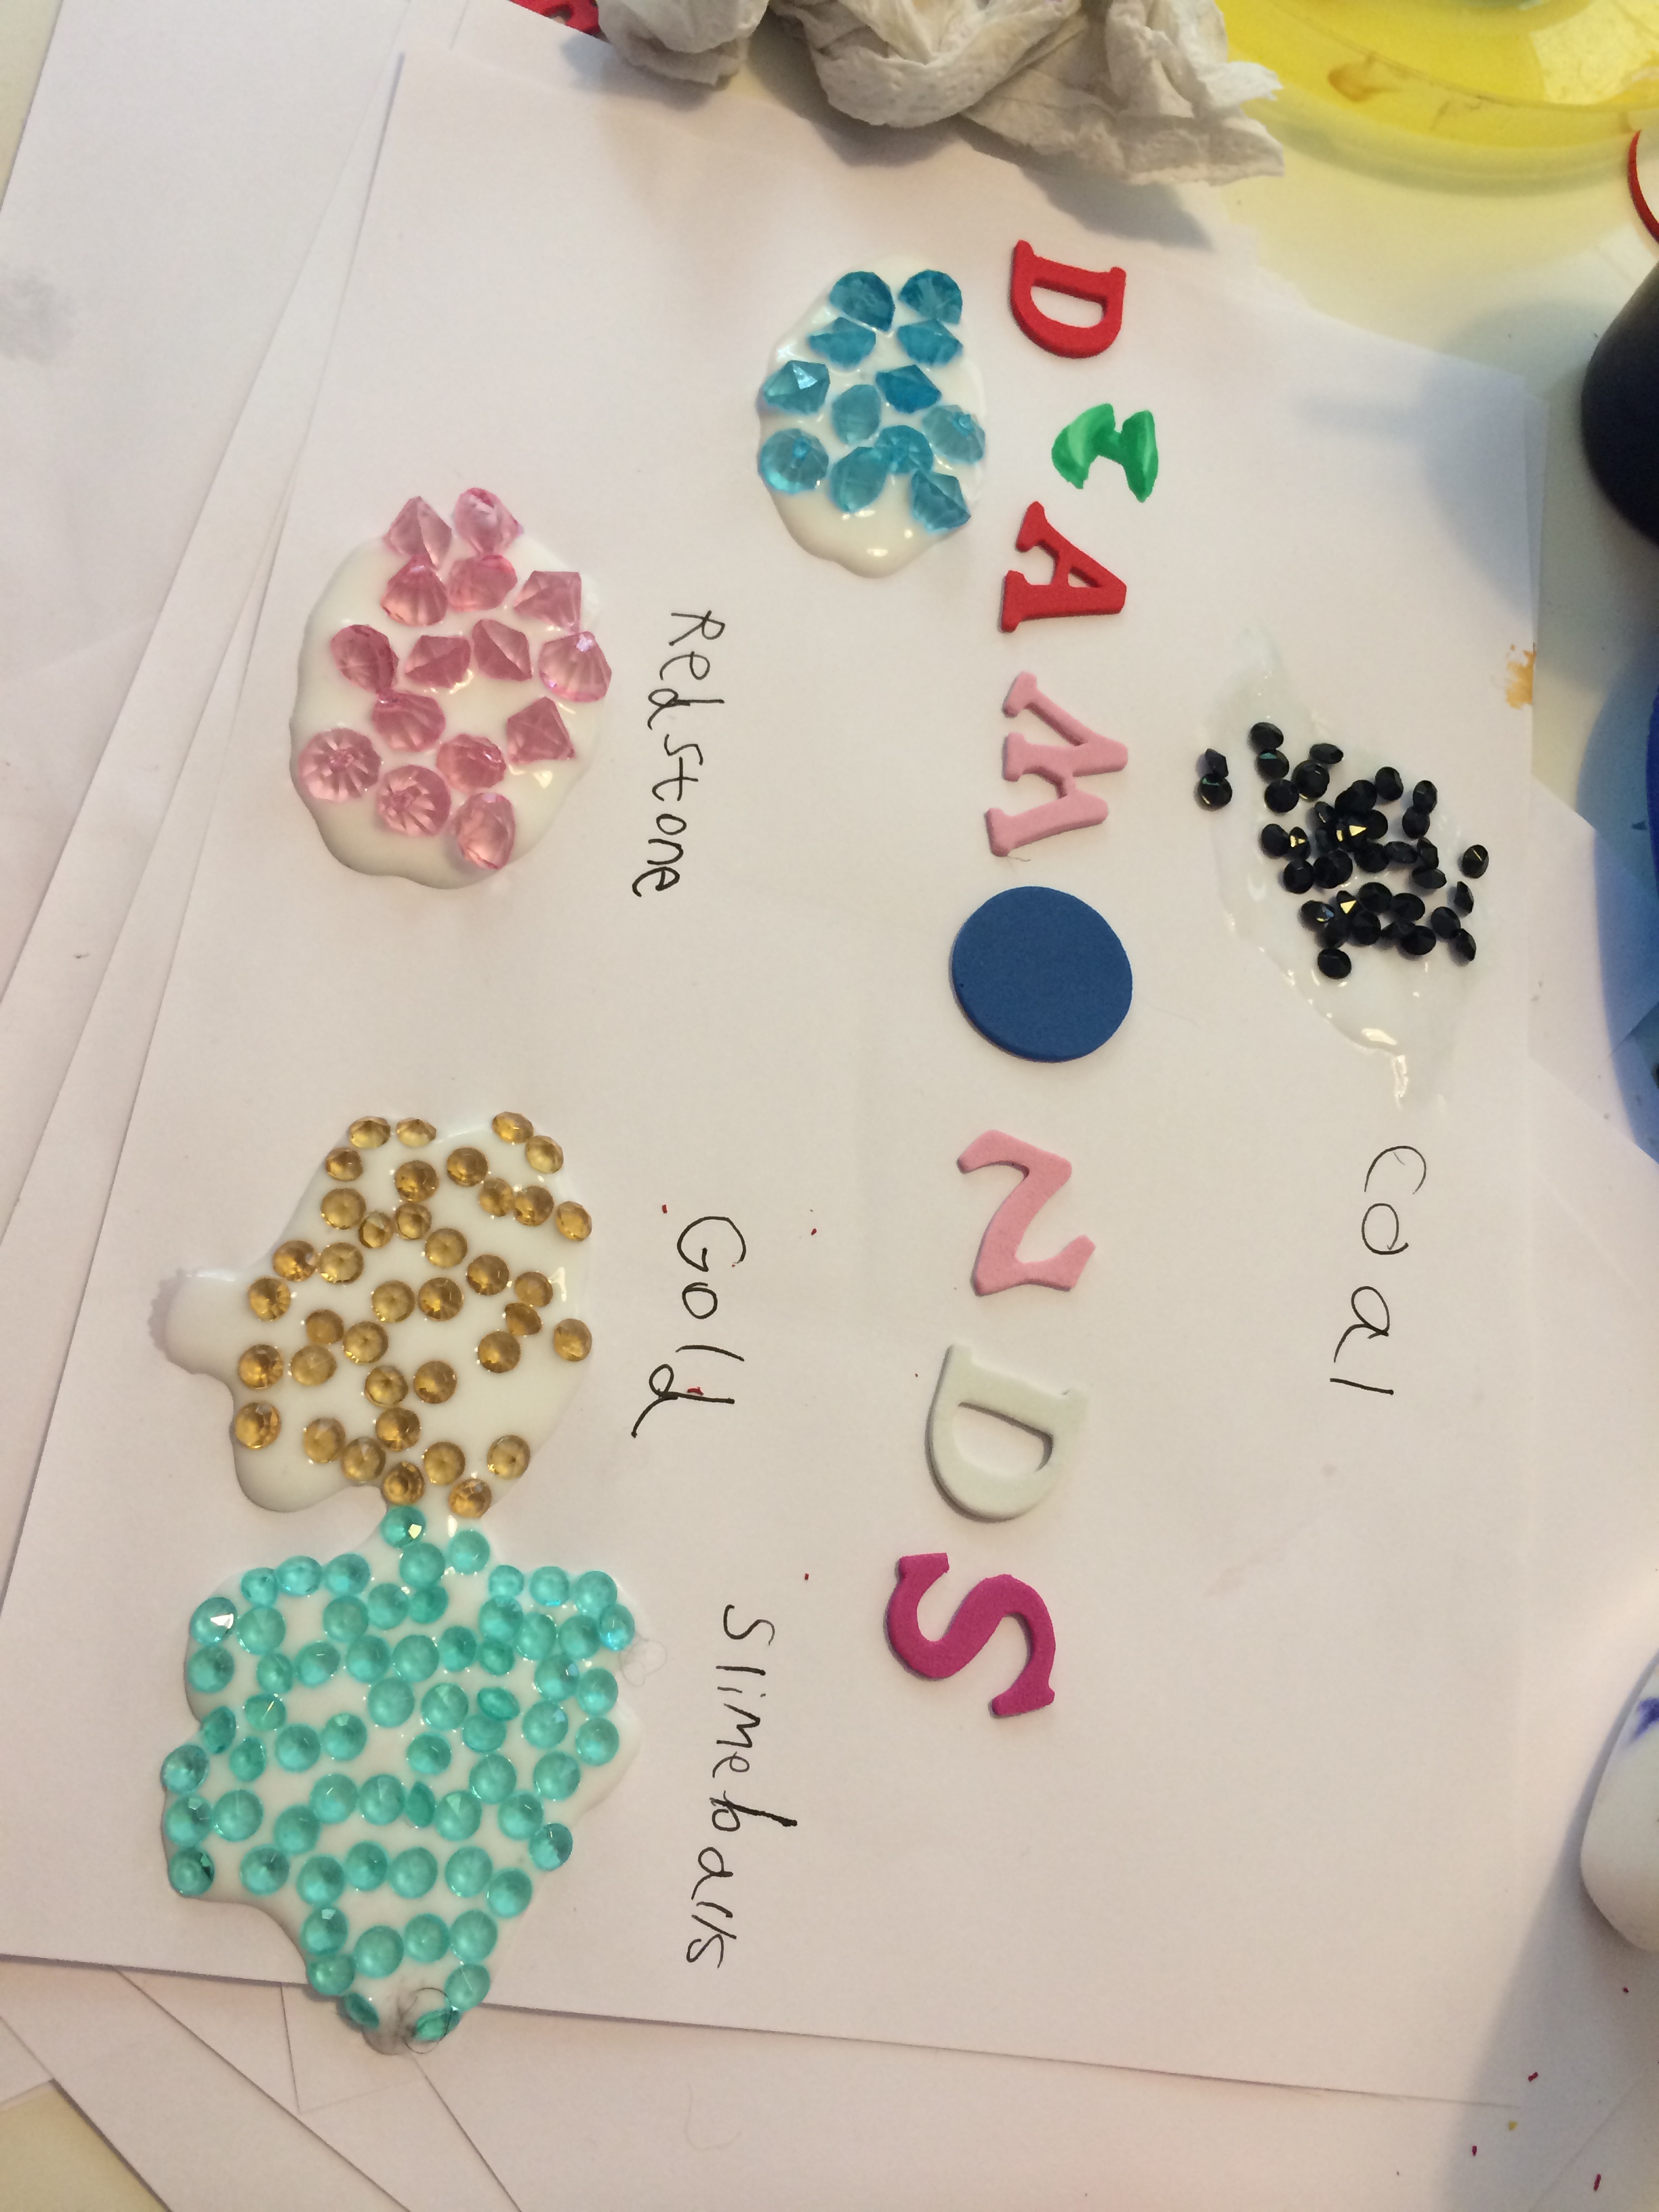
Gabi is using the plastic “gems” which we bought from Oscar’s Den party shop – but I’m pretty sure you can get from most art shops – to label different blocks and ores found in minecraft (his favourite game in the world which he plays, talks, dreams about non-stop).
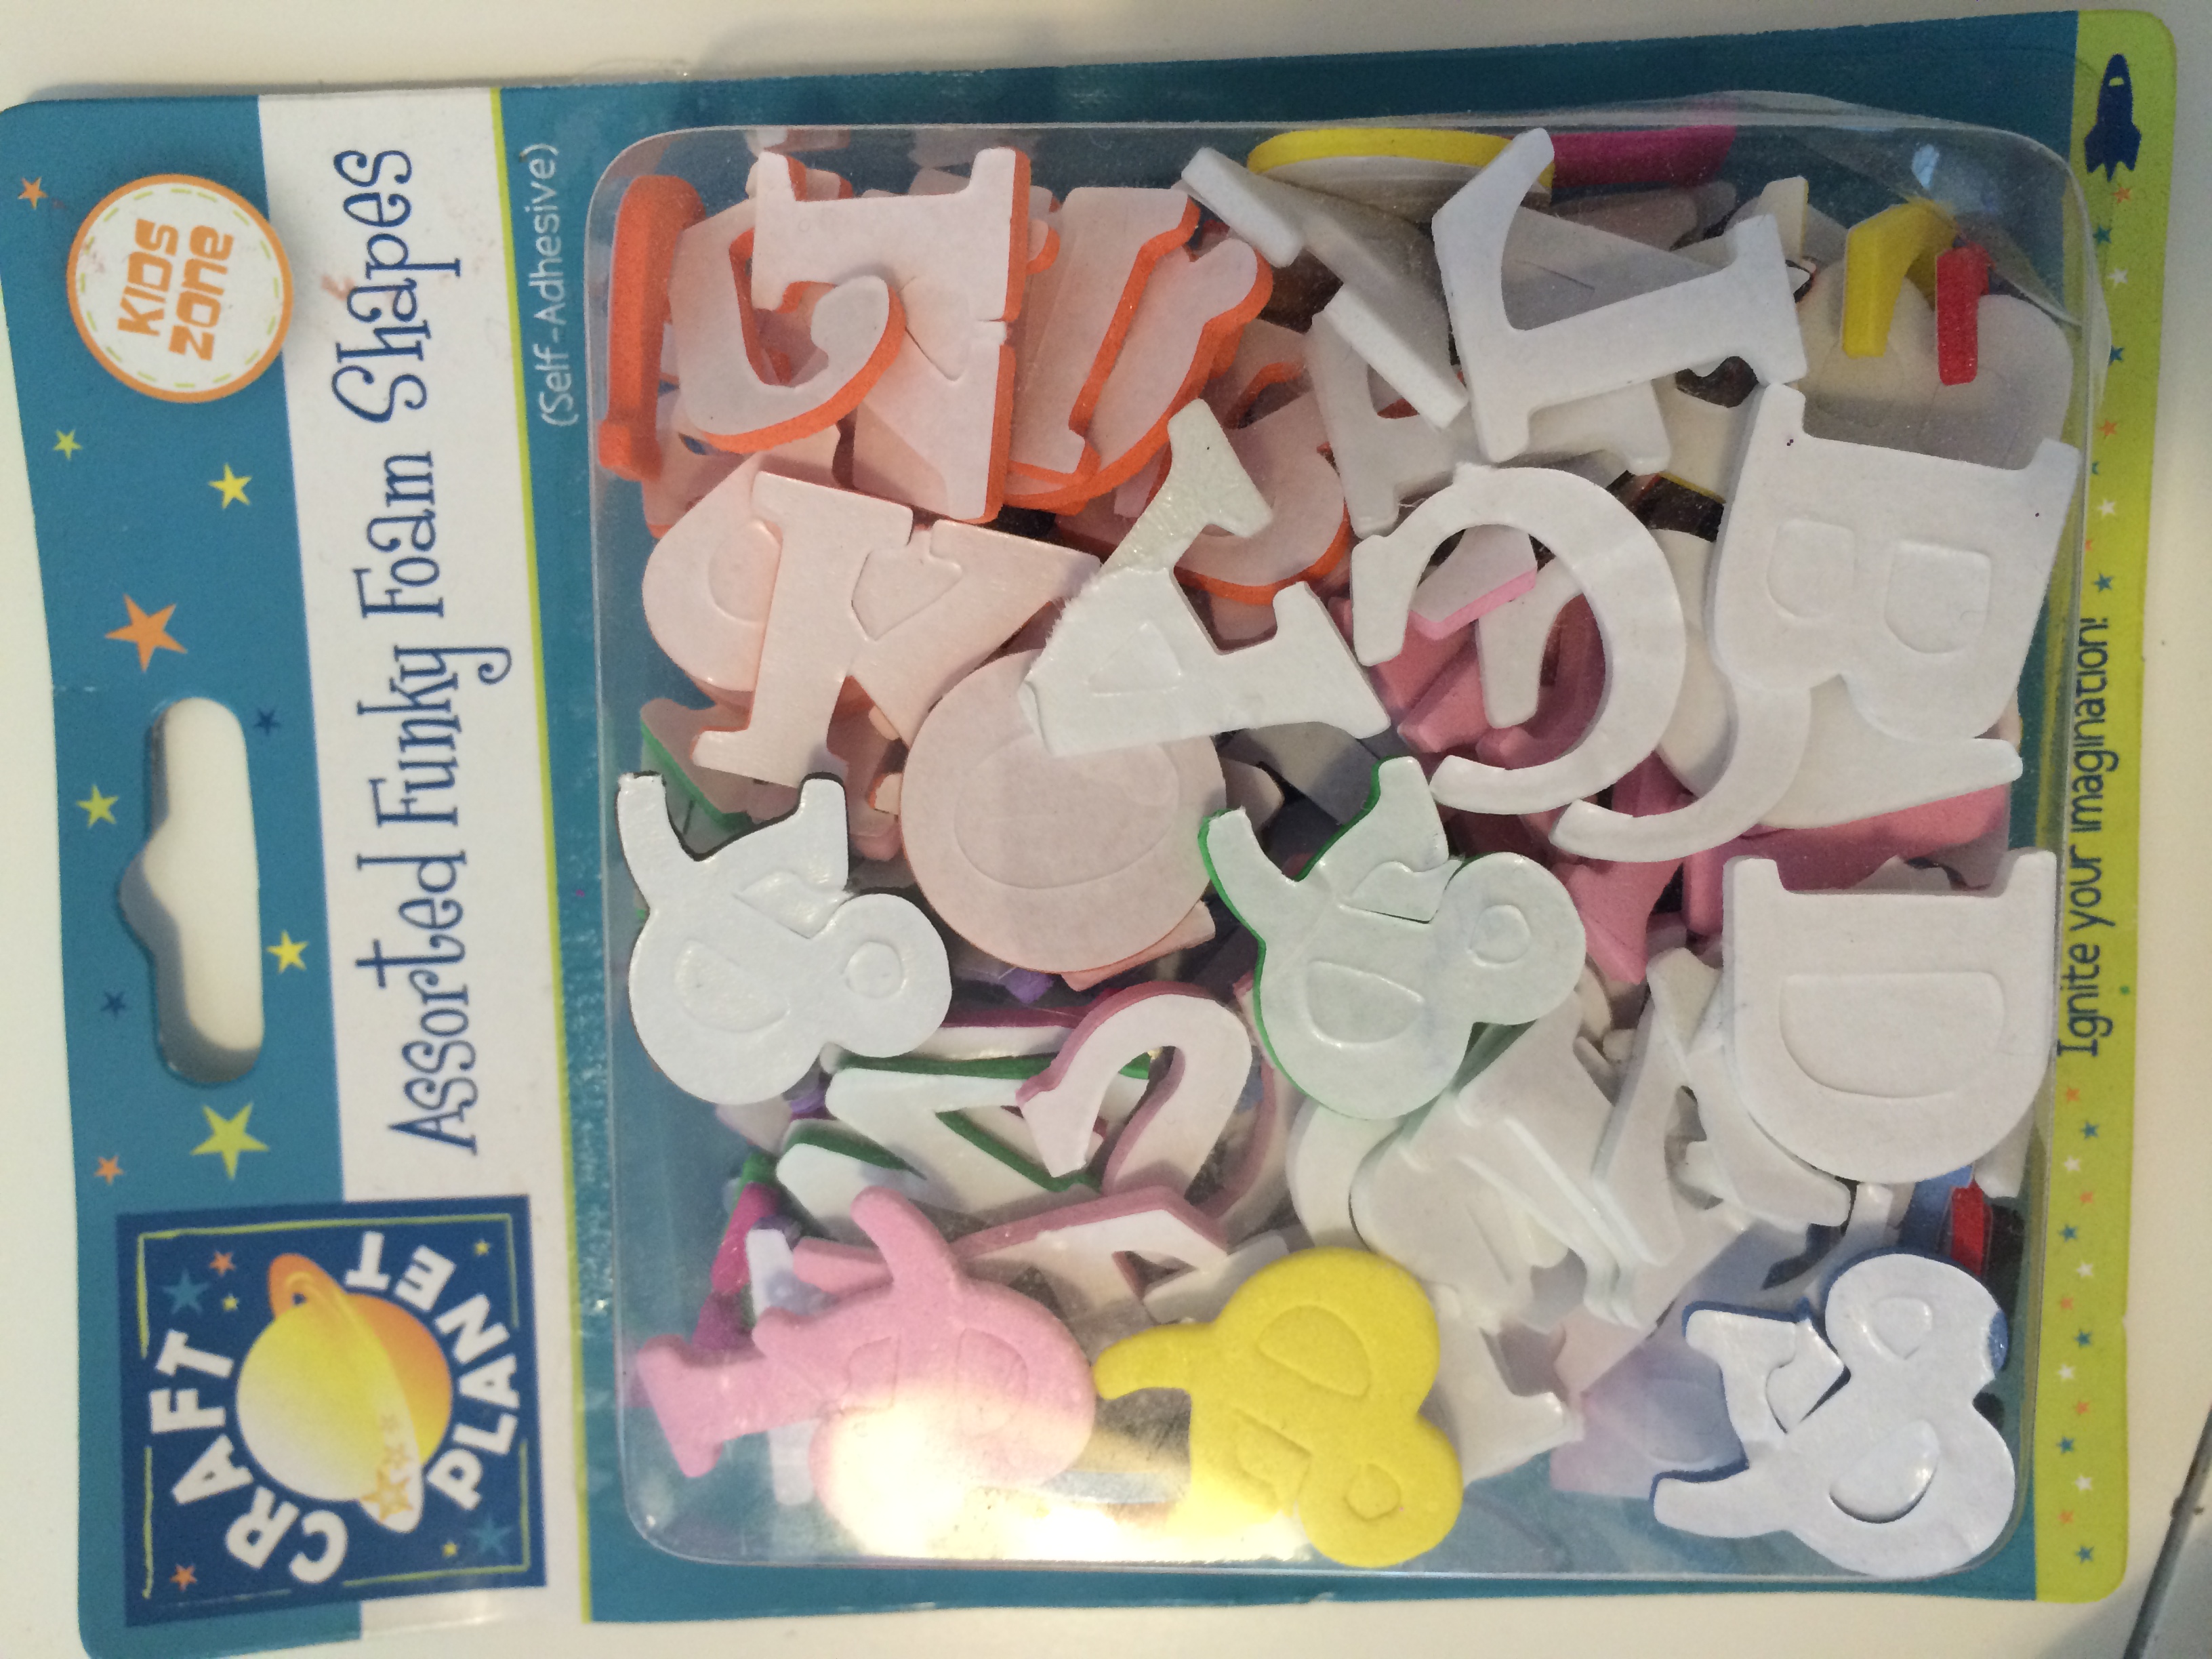
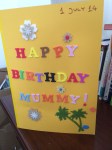
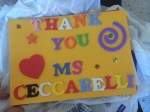
We also love these foam letters from London Art shop on the Finchley Road.They’re not cheap but they’re really durable and amazing for home-made cards. The boys love them and have used them for my mother’s day and birthday cards (courtesy of Daddy) and school teacher’s end of year cards. They do shapes too.
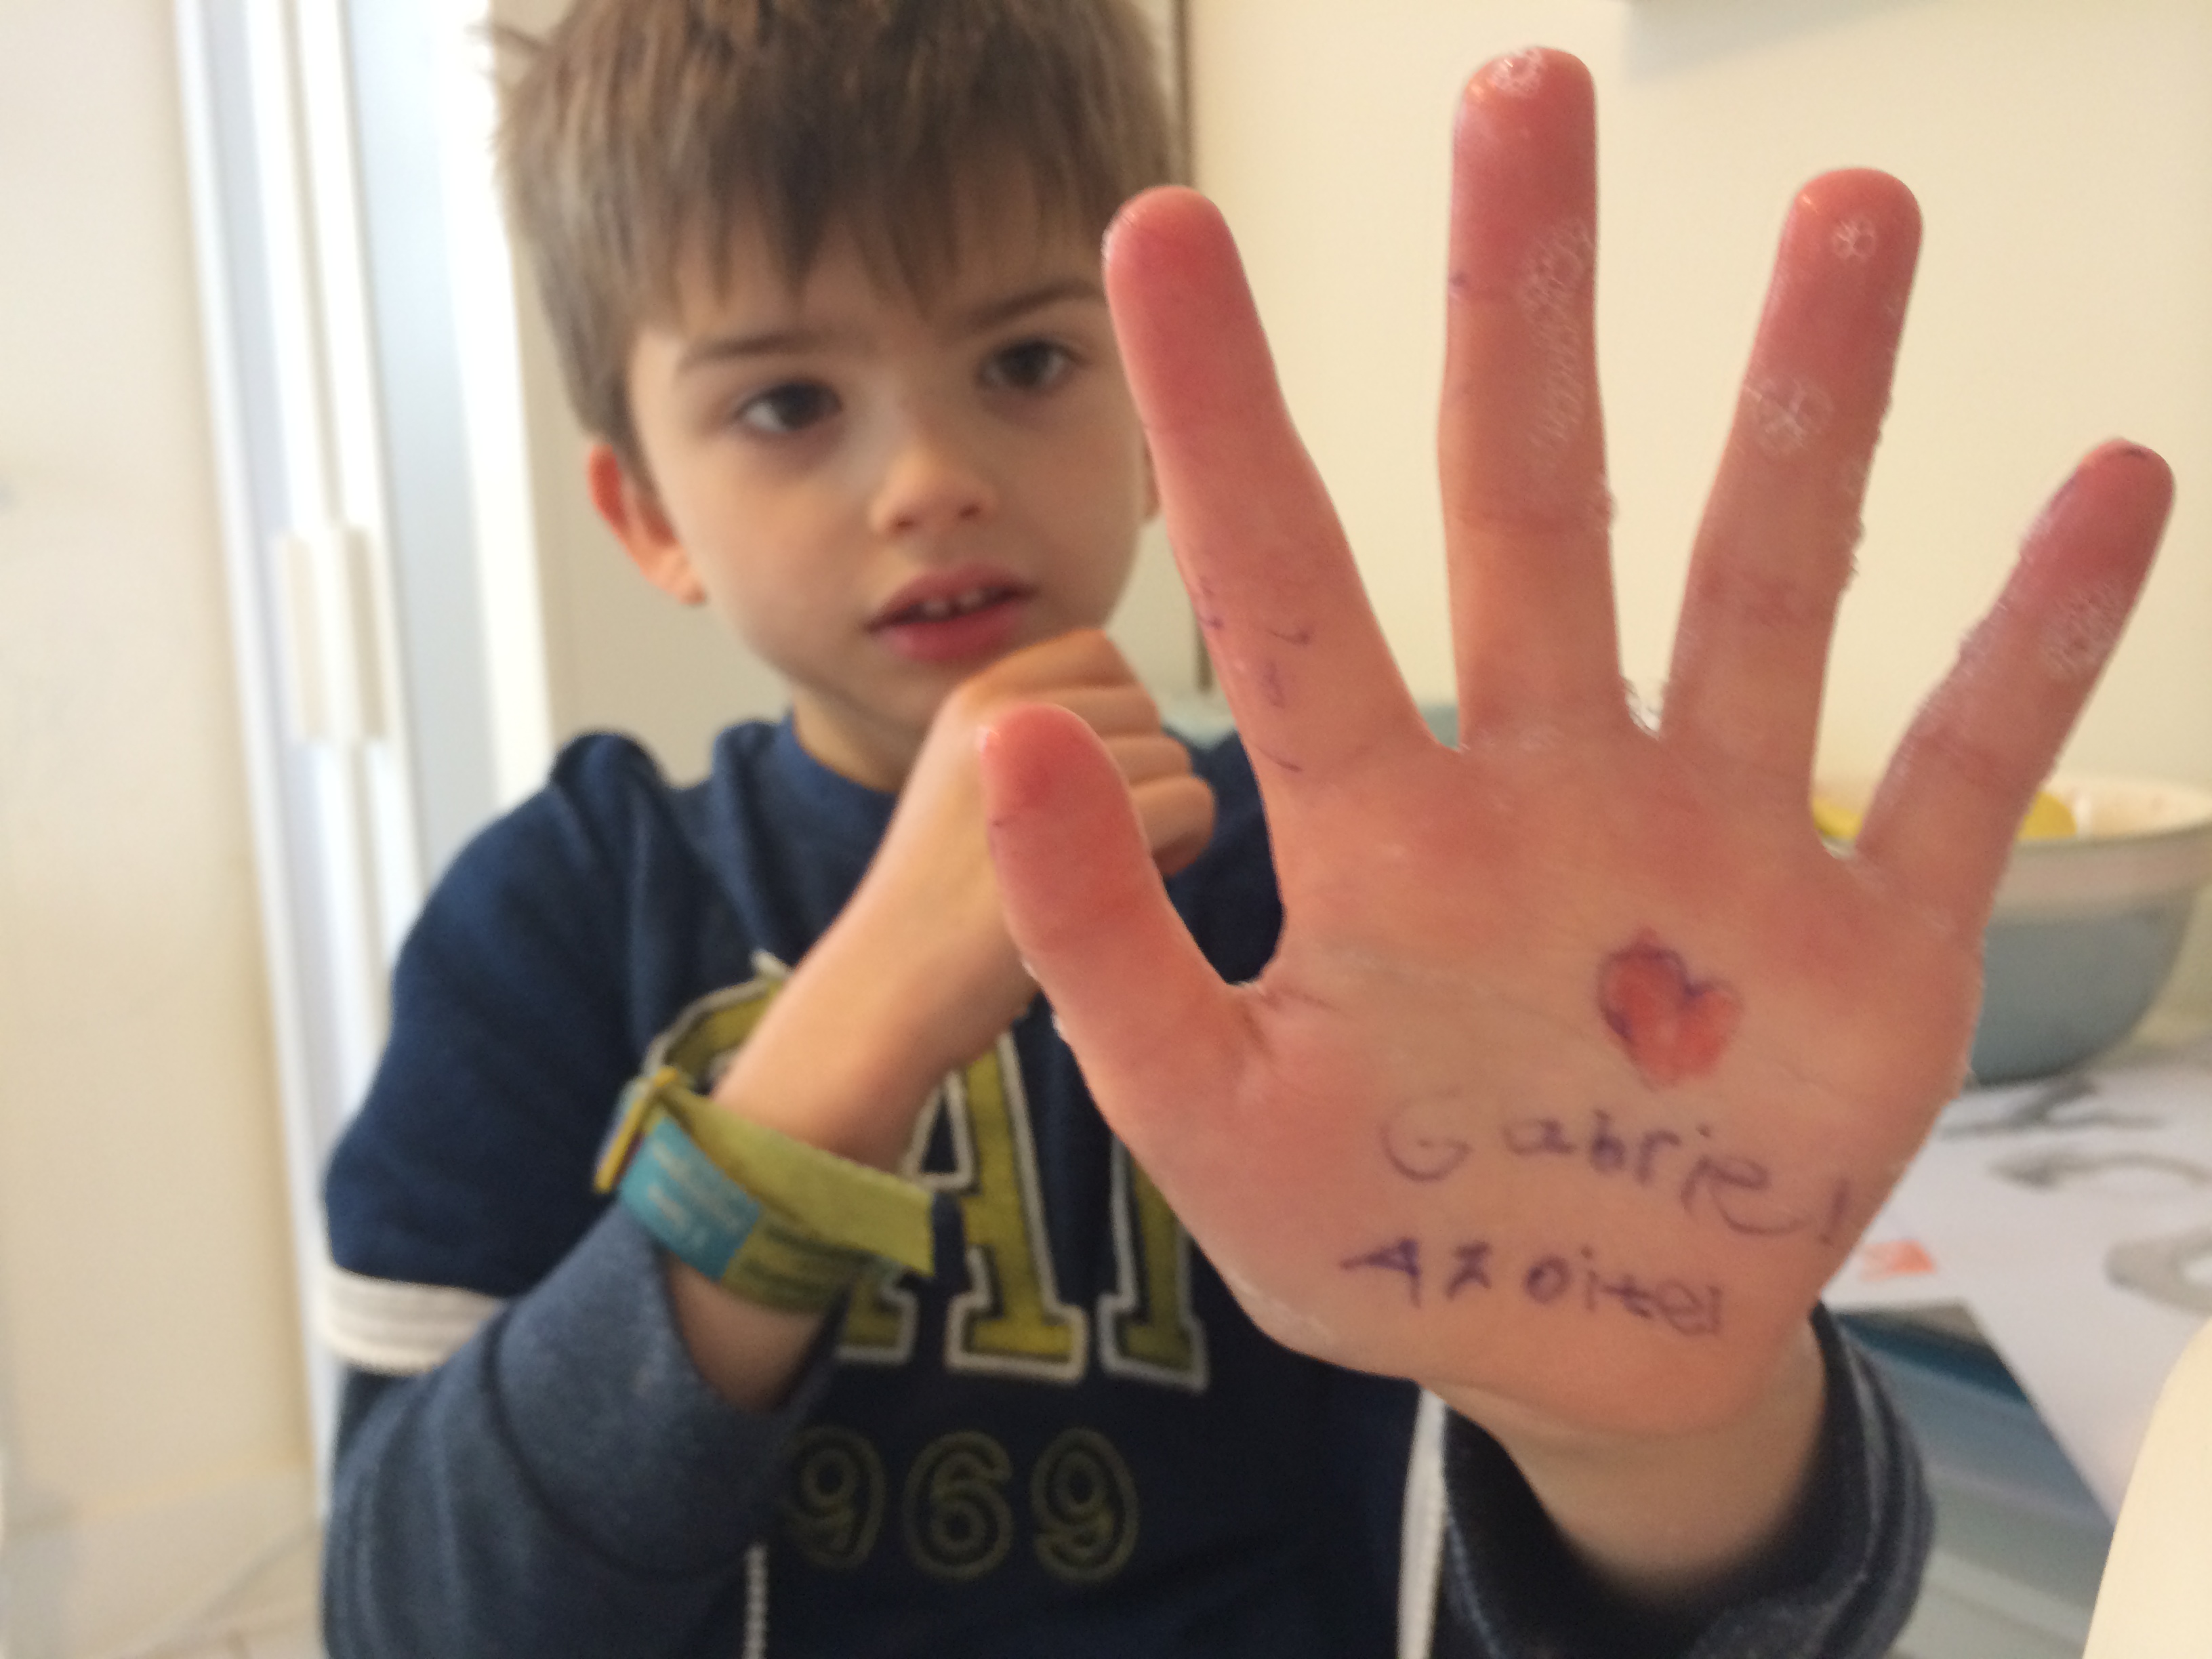
I just left them for 15 minutes unattended to write this blog, working away happily – or so I thought – and have just gone back in to find Gabi has drawn on himself, albeit very beautifully, in permanent pen…
and Luci has done this… Oh God.
So, I guess our next Messy Play activity will be a little more structured and supervised. But at least it’s kept them quiet for a while. Right, I’m off out to buy more paint… Click on the badge below to read more about Messy Play for Matilda Mae and link up your own messy play posts!
We did this activity back in January but I never got round to blogging it and this week being such an important one where I attended the Matilda Mae Remembers Service, and we marked the one year anniversary of her funeral it seems like a nice time to do it.
This whole thing was Gabs’ idea. Producing tens of thousands of 2D pictures of planets was no longer satisfying him and he really, really wanted to make a 3D version somehow. Now I am incredibly lazy and tend not to plan ahead so we didn’t really do this quite as perfectly as we might have, with little balloons inside to make them perfectly rounded, but it was still a major undertaking (it took us two days!) and Gabs was really able to do everything himself so it was a good option for us. I’m sure we will improve on it and make another Solar System as we hone our technique!
Day 1: Inner Solar System
So basically, we picked up a mountain of Metro newspapers from the tube station and ripped them into roughly two-inch wide strips (Gabs wasn’t interested in this bit, or coordinated enough, so I did it and piled them in a bowl for him to take) and then mixed flour and water in a bowl to make a sticky paste. I followed some online recipe, I can’t remember the quantities and anyway I found it too runny and added a lot more flour so it’s irrelevant… 🙂
We started with the Sun, and scrunched up a load of newspaper in a ball (which is why our spheres didn’t come out too round! But it was easier for Gabs and he loved it) and then started laying the paste-soaked strips across it in layers.
Once we’d added some smaller inner planets, we put them in the oven on a low heat to speed up the drying process (we don’t have an airing cupboard and were impatient to start painting!) I should point out at this point that even though we used non-toxic paints it still makes the oven stink so you need to allow time to clean and burn off the smell before cooking in it after.
Mercury, Venus, Earth and Mars
Inner Planets warm from the oven
Gabs mixing colours for Venus and Mars
Then once the Sun was fully dried Gabs mixed the right paint colour (a mix of gold, yellow, orange and red paints) – something he took fastidious pride in! It took several coats of thick paint and we had to partially dry each one and then paint the bottom and put it back in the oven upside down to cover the whole of the sphere. It worked better with some of them to roll the whole planet around inside the bowl of paint to get it really well covered.
Gabs painted green land-masses onto the already dry blue oceans of Earth and once they were all dried we called it a night as we were exhausted! This worked out pretty well because Gabs was delighted by the results of his Sun and Inner Planets and it gave him something to look forward to the next day.
Day 2: Outer Solar System
The next day was more challenging because we had the planets with rings to deal with and more complex colours. We started the same way as before with the newspaper balls and paste. Our scale wasn’t very accurate, that’s something we’d like to improve on next time but it would have meant having an absolutely enormous Sun or teeny tiny inner planets to leave ourselves room for the right comparitive sizes of the bigger planets so we just approximated as best we could this time.
We had a lot more paint mixing to do for the more unusual shades of the gas giants and lots of layering to do for the cloud formations on Jupiter. First we painted it brown, then dried it and painted the rings of circling orange clouds, dried that.. then a splodge of red for the Great Red Spot and silver (we didn’t have white) on the top and bottom for the polar clouds.
We made the rings by cutting them out of purple cardboard and colouring with felt-tip pens. Saturn’s are much wider than Uranus’ and go round the middle rather than top to bottom which was much easier to fix on but somehow we made them just the right size to stick around the middle.
Drawing Saturn’s rings
Did you know there is a storm on the North Pole of Saturn which is naturally shaped like a perfect hexagon?! Gabi told me this and I didn’t believe him at first until I checked it out myself but it’s true. One of the great wonders of the Universe!
Gabs tried very hard to paint it on but it went a bit splodgy. Another thing to aim for in our next one. So here they are, our finished planets, the whole Solar System including a little moon to go around Earth. The big gap Gabs left between Mars and Jupiter is for the asteroid belt… I have no idea how we’re going to make that!
The funniet shaped planets we have ever seen!
Creating the orbits round the Sun
As you can see our round paper-maché dried a lot less round and then the paint coagulated in clumps making some of them reeeally bumpy. Let’s be honest they are the funniest looking planets you’ve ever seen, right?! But Gabs LOVED them… he felt so proud because he considers that he made them almost all by himself, and they have been played and played with for weeks… They are great for playing at making the planets orbit around the Sun and the moon orbiting the Earth and they’re so hard and durable they are hard to break, although we keep losing the little ones around the house.
This was a great project for us, we had great fun and Gabs was in absolute heaven. He really felt special that Mummy had gone to all the trouble of this two day project to make him happy, making me feel like the best Mummy in the World. 🙂 It’s messy and time consuming but also pretty easy… I highly recommend it! If you have any tips on making an even more accurate one, maybe with balloons and any ideas for the asteroid belt, please write below! And look out for our next 3D Universe project…
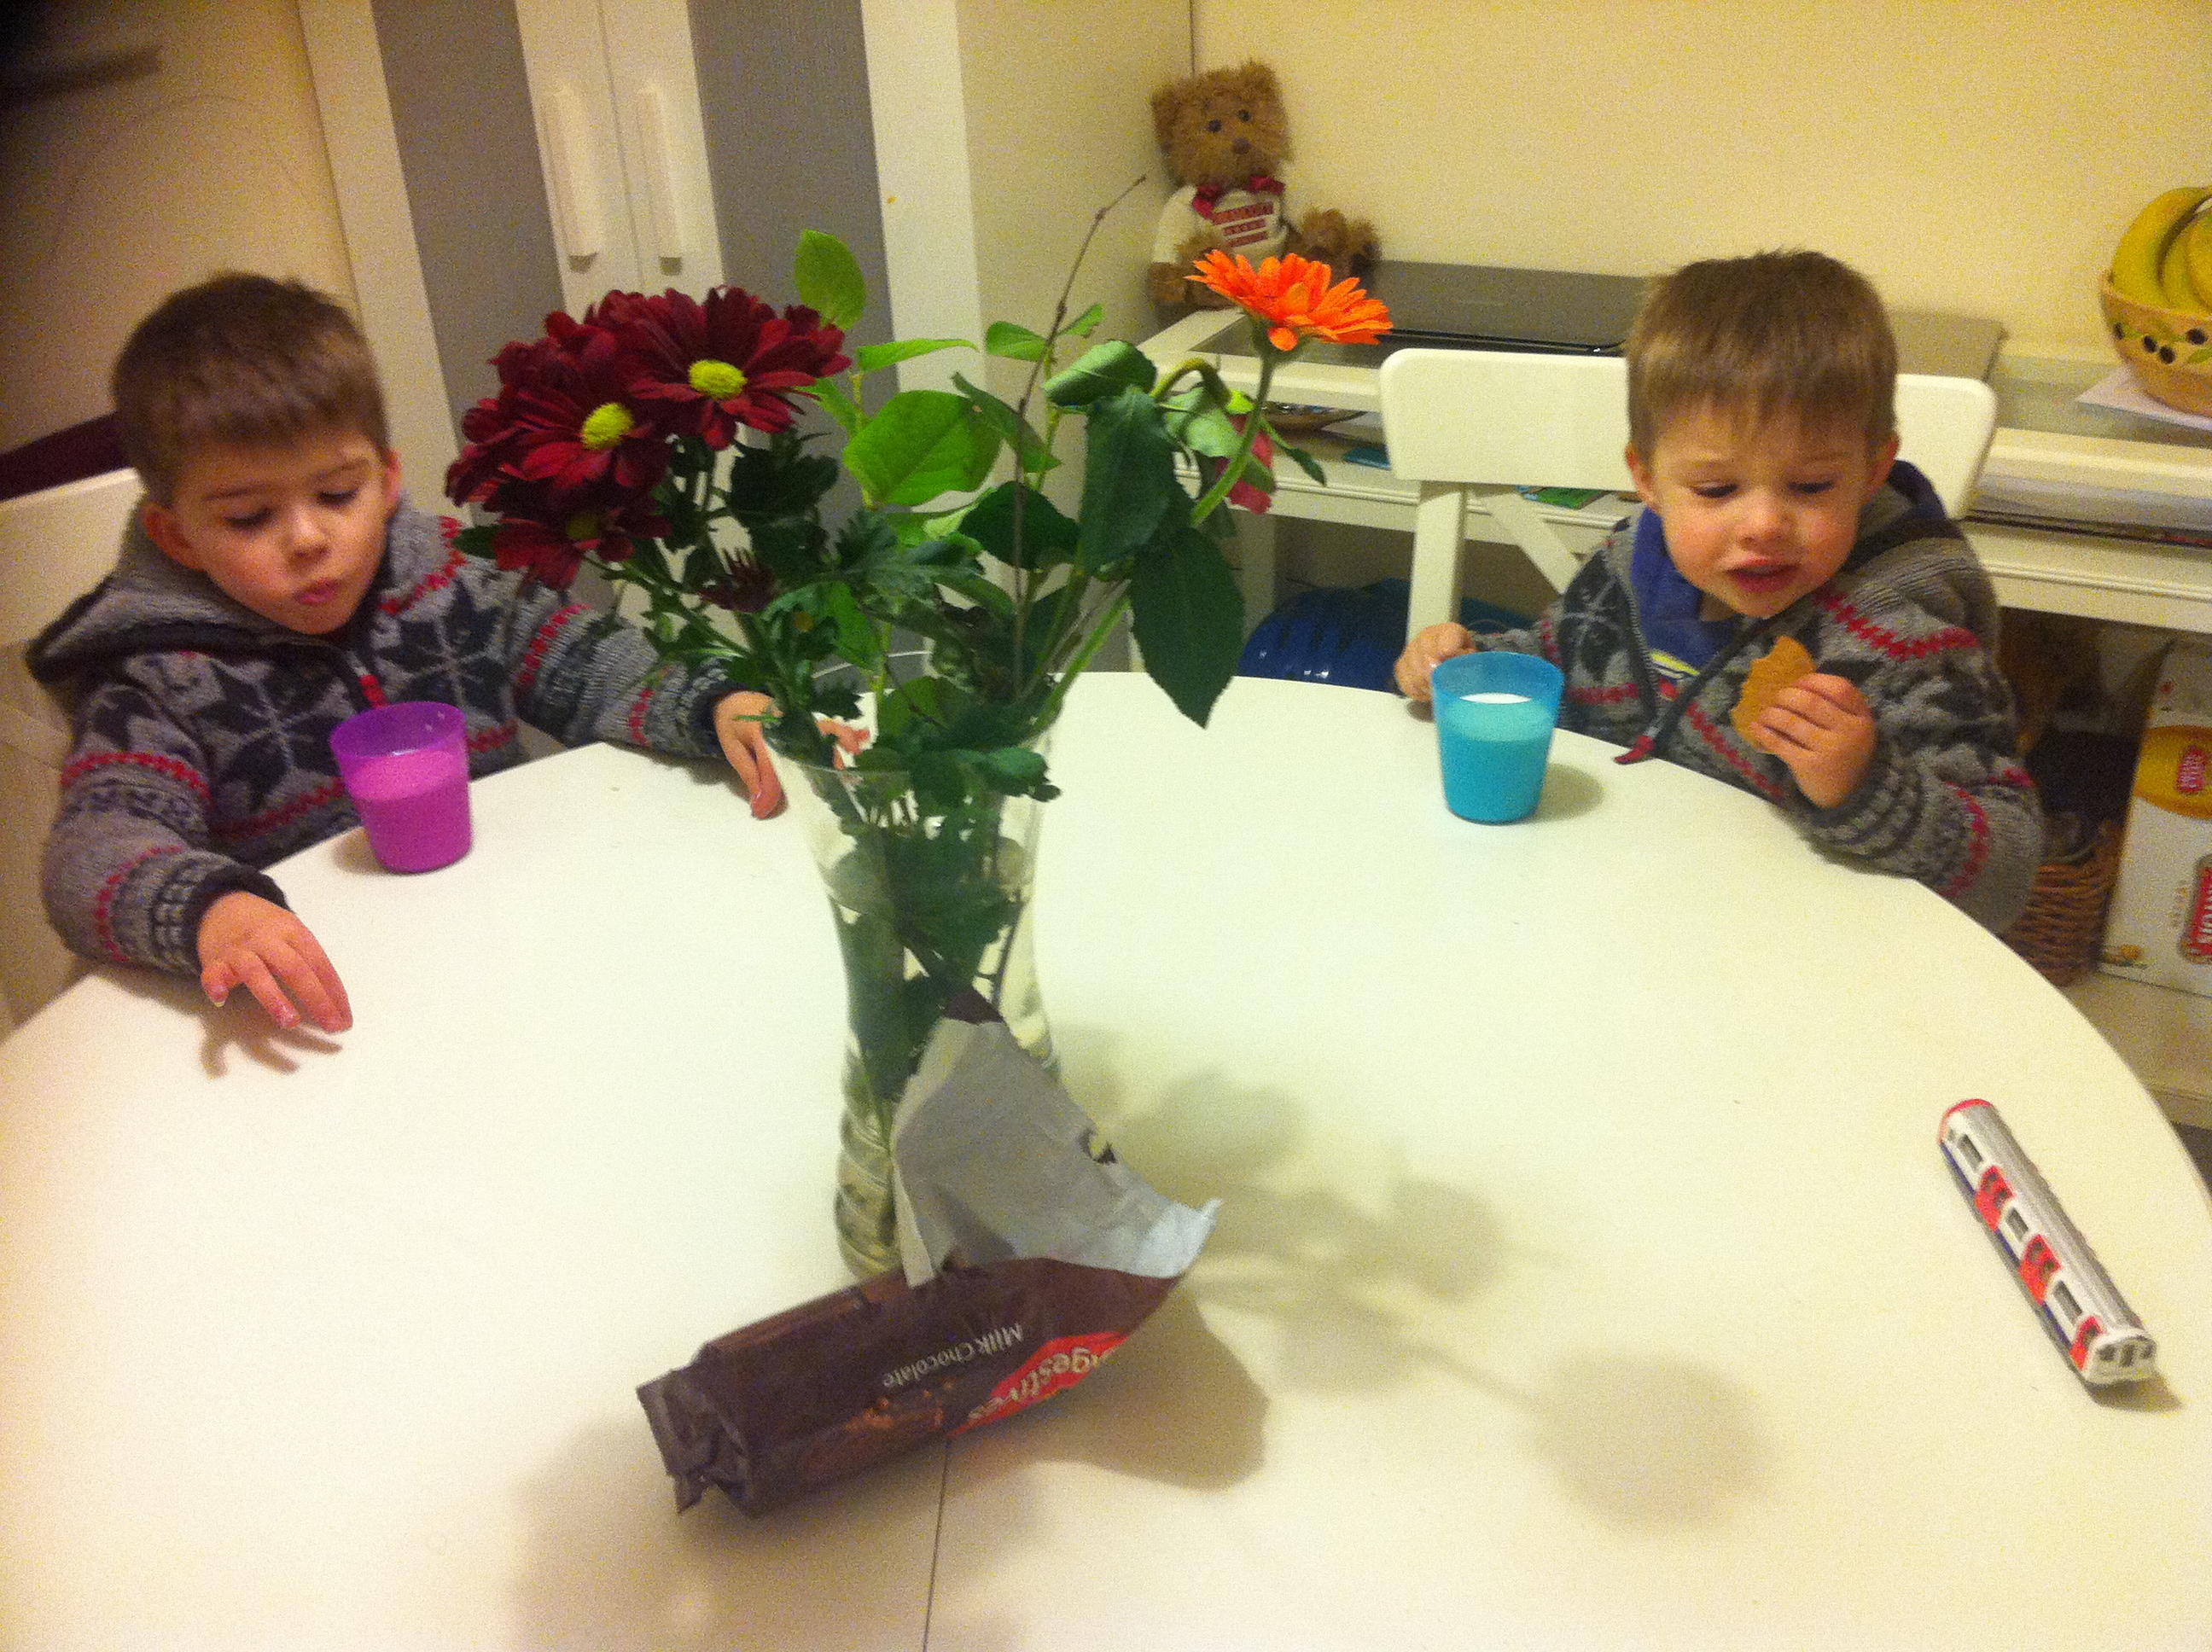
I hadn’t planned to do a Messy Play activity today but it got to 3pm or so and the boys were driving me craaaazyyy, so out they went into the garden just as it started to get dark and scooted and chased each other round and round while I watched them out of the kitchen window. They weren’t keen on collecting leaves though, complaining that the leaves in our garden are too crinkly and yucky (I have to agree with them there, it’s not a great batch). Next time we will walk down the road to Golders Hill Park where the paths are littered with perfectly-edged, ENORMOUS yellow and orange ones. For today, I had to find a few myself for our afternoon of crayon-rubbing and paint-printing (as requested by Gabs).
But wait! We can’t work on an empty stomach. First, chocolate digestives and milk…
Leaf Rubbing
The plan was for me to set up the boys with leaves, paper and crayons, show them how to do it and then leave them to to it while I had a cup of tea. But it turns out that leaf-rubbing is surprisingly tricky for small hands, even with me holding the paper down. The leaves moved around under the paper, the paper moved every time Gabs rubbed his crayon a bit too rigorously and he got frustrated, so after boiling the kettle three times I gave up and accepted this would be a supervised activity. That said, when it worked, he got really excited and loved the results and he did get the hang of it enough to do a few himself by the end.
Lucian joined in briefly before deciding random scribbling was more fun but between us we ended up with a nice collection of different colours and shapes.
Leaf-Printing
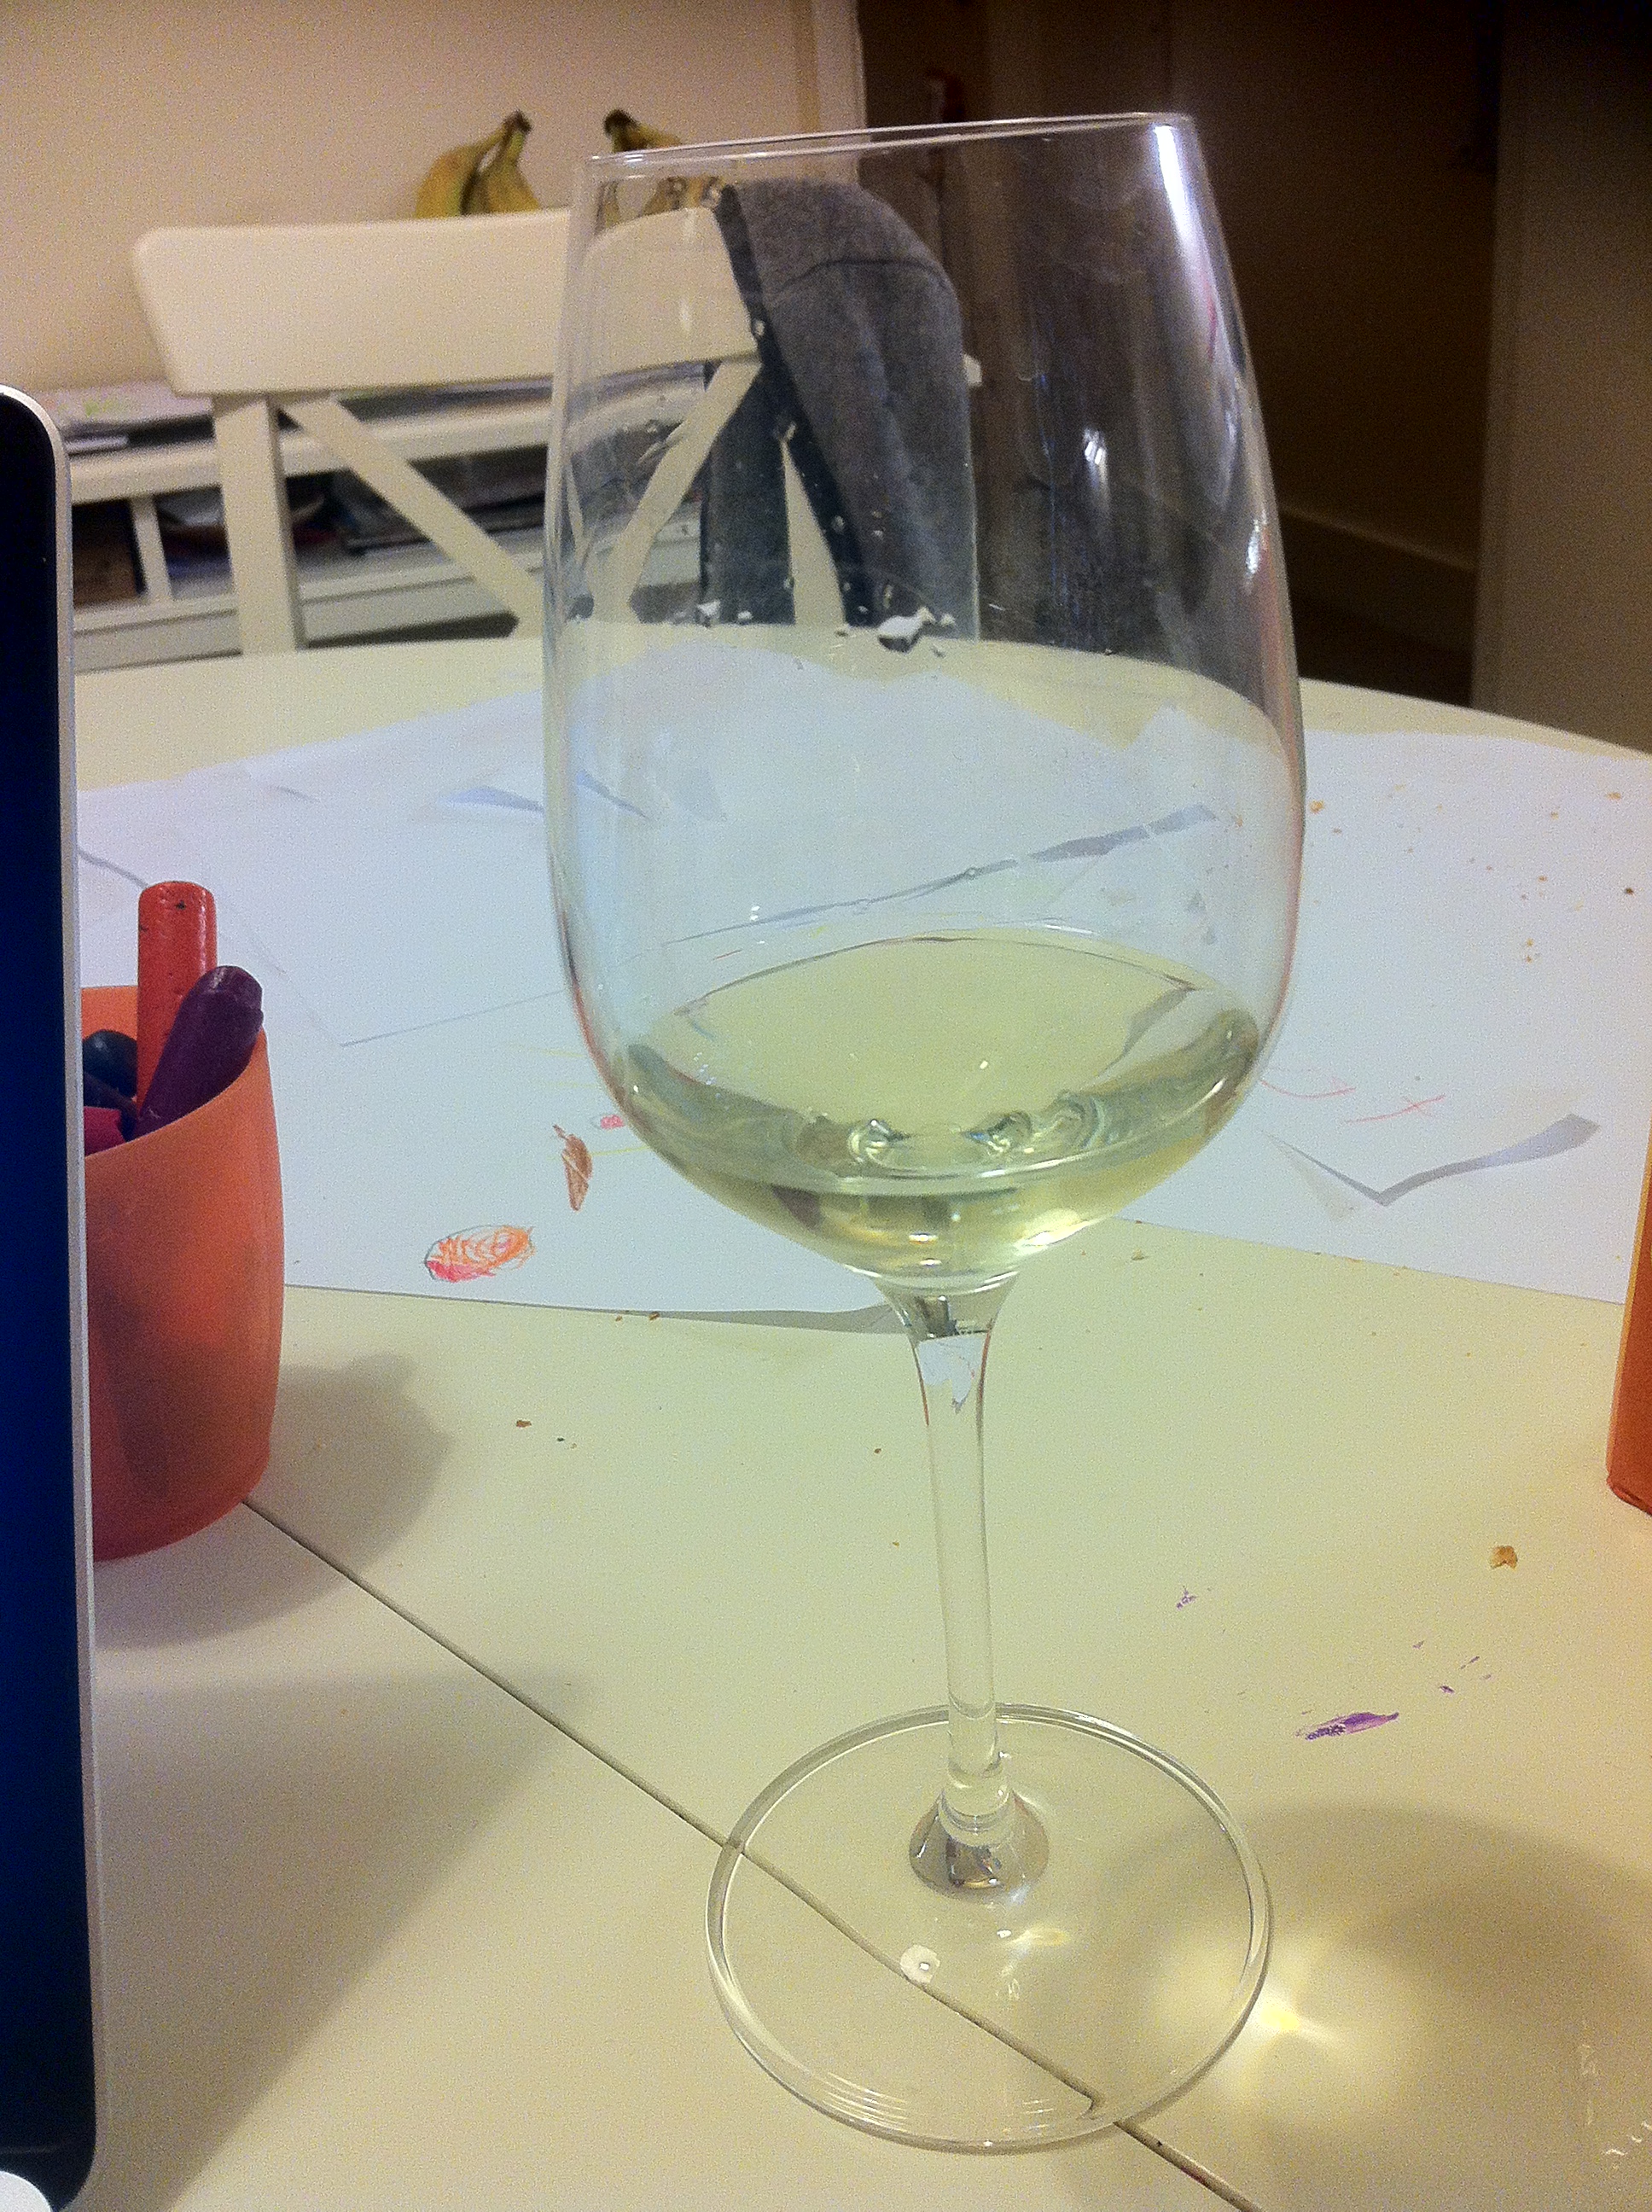
Although leaf-rubbings are fun to do, you couldn’t really call it messy and Gabs isn’t thoroughly satisfied with his weekend unless it involves some sort of paint. So we kept our leaves, moved the crayons aside and got out the paints. Now, officially leaf painting is a bit easier than leaf-rubbing in terms of keeping the paper still, but a white IKEA table, a plate full of paint and a four year old and a two year old is recipe for something if not a full-blown disaster. In the past, I’ve used these Saturday afternooon Messy Play activities to keep them occupied for a long stretch (hovering around taking photos of them at work, cleaning the kitchen, starting to blog it already or at least getting the dinner on.) But today had to be heavily supervised.
Man, I supervised the crap out of those kids….
Again, we used different leaf shapes and colours and as well as painting the leaves and pressing them onto the paper we tried sponging paint around the outline of the leaf.
Surprisingly, Lucian was less concerned with painting my kitchen than lining up the paint pots in a straight line and throwing them into the box, but it was lucky I supervised Gabs who moved onto hand-printing.
We ended up with a nice collection, and then while I started blogging, Gabs carried on with his favourite obsessive activity: drawing the planets of the solar system. He also cut them out this time and tomorrow we’ll buy a big black sky to stick them onto from the art shop.